Switching email providers without losing everything
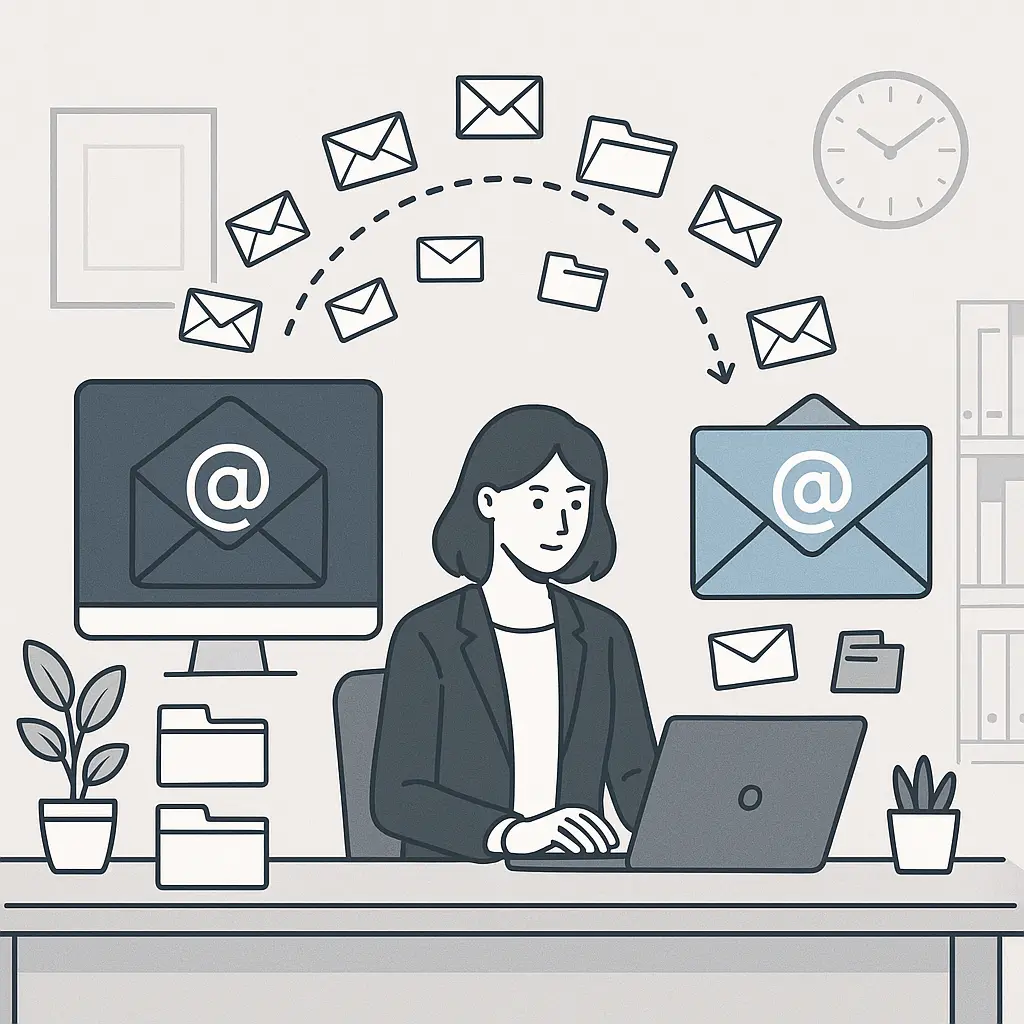
You want to switch email providers. Maybe Gmail's privacy policies finally pushed you over the edge. Maybe Outlook's interface drives you up the wall. Maybe you're moving to ProtonMail for encryption or back to Apple Mail because you're tired of ads.
The problem isn't choosing a new provider. The problem is that your current email address is woven into hundreds of accounts, contacts, and logins. Switching feels like ripping out infrastructure.
It doesn't have to. Here's the step-by-step process to migrate email providers without losing messages, breaking logins, or spending weeks fixing the fallout.
Before you start: understand what you're actually moving
Email migration has three distinct parts. People conflate them, then get stuck halfway through.
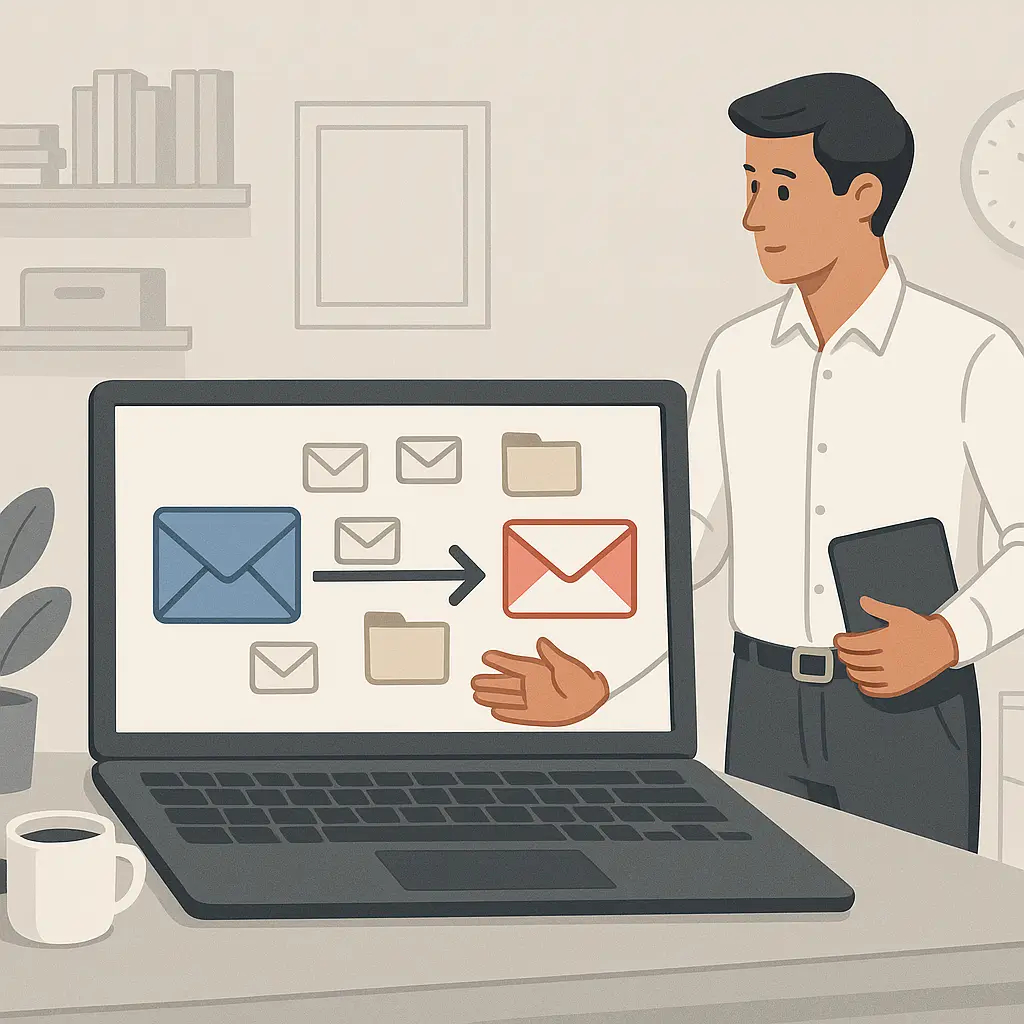
Part 1: Your messages. The emails sitting in your inbox, sent folder, and archives. These are files. You download them from the old provider and upload them to the new one.
Part 2: Your address as a login credential. Every account where you used your email address to sign in, banking, shopping, subscriptions, work tools, social media. These need manual updates.
Part 3: Your address as a contact method. Everyone who has your email address in their contacts. These people need to learn your new address, either through direct notification or gradual discovery.
You can move Part 1 in an afternoon. Parts 2 and 3 take weeks. The process works because you control the timeline. The old account stays active while you migrate. Nothing breaks until you choose to close it.
Step 1: Choose your new provider and set up the account
Pick your new email provider based on what matters to you. Privacy, interface, cost, storage, platform integration, whatever drove you to switch in the first place.
Create the new account. Choose a strong, unique password. Enable two-factor authentication immediately. If you're using a password manager (and you should be), save the credentials there. If you're not using a password manager, read this first.
Configure basic settings: display name, signature, time zone. Set up folders or labels if your workflow depends on them. Get the interface working the way you want it before you start moving data.
Test the account. Send yourself a message from another address. Reply to it. Make sure sending and receiving both work before you commit to the migration.
Step 2: Download your old messages using IMAP or export tools
Most providers let you download your entire message history. The method depends on the provider.
IMAP method (works for most providers): Configure your new email client (Thunderbird, Apple Mail, Outlook desktop) to connect to your old account using IMAP. IMAP syncs folders and messages from the server to your local machine. Once synced, you have a complete local copy. Then configure the same client to connect to your new account and drag messages from the old folders to the new ones. The client uploads everything to the new provider.
This method is slow but reliable. A mailbox with 10,000 messages can take 6-12 hours to sync, depending on attachment sizes and connection speed.
Provider-specific export tools: Gmail offers Google Takeout. Outlook offers export through the web interface. Yahoo and AOL have similar tools. These create a downloadable archive (usually .mbox or .pst format) containing all your messages. You then import that archive into your new provider using their import tool.
Export tools are faster than IMAP but less flexible. You get one big file. If something breaks during import, you start over.
Choose the method that matches your technical comfort level. IMAP gives you more control. Export tools give you speed.
Step 3: Set up forwarding from old to new
Before you start updating accounts, configure your old provider to forward all incoming mail to your new address. This creates a safety net. Messages sent to the old address still reach you while you're migrating.
Every major provider supports forwarding:
- Gmail: Settings → Forwarding and POP/IMAP → Add a forwarding address
- Outlook: Settings → Mail → Forwarding → Enable forwarding
- Yahoo: Settings → More Settings → Mailboxes → Set up forwarding
- Apple iCloud: iCloud settings → Mail → Forwarding
Enable forwarding. Test it by sending a message to your old address from a third account. Verify it arrives at the new address.
Leave forwarding active for months. Some accounts you'll forget to update. Forwarding catches them.
Step 4: Identify which accounts use your old email address
This is the tedious part. You need a list of every account that uses your old email as a login credential or contact method.
Start with the obvious categories:
- Banking and financial accounts
- Shopping sites (Amazon, eBay, and similar)
- Subscriptions (streaming services, news sites, software)
- Social media (Facebook, Twitter, LinkedIn, Instagram)
- Work-related tools (Slack, Zoom, project management platforms)
- Government and healthcare portals
- Utilities and service providers
Check your old inbox for confirmation emails. Search for terms like "welcome," "account created," "verify your email," "password reset," and "subscription." These messages reveal accounts you've forgotten.
Check your password manager. If you're storing credentials there, the email field shows which address you used for each account.
Make a spreadsheet. Three columns: Account name, Old email used?, New email updated?. This becomes your migration checklist.
Step 5: Update accounts one category at a time
Do not try to update everything in one sitting. You will burn out, make mistakes, and miss critical accounts.
Work through your list by category. Start with the highest-priority accounts first.
Priority 1: Financial and identity-critical accounts. Banks, credit cards, investment accounts, tax services, health insurance, government portals. These matter most. Update them first.
Log into each account. Navigate to account settings or profile. Look for "Email address," "Contact information," or "Login credentials." Change the registered email from old to new. Some sites send a verification email to the new address. Click the link to confirm.
Test the change. Log out, then log back in using the new email address. Make sure it works before moving to the next account.
Priority 2: Subscriptions and services. Streaming platforms, cloud storage, software subscriptions, news sites, shopping accounts. These matter less than financial accounts but still require attention.
Update them the same way: log in, find settings, change email, verify, test.
Priority 3: Social media and communication platforms. Facebook, Twitter, LinkedIn, Instagram, messaging apps. These often send notifications to your email. Update them so notifications reach the right inbox.
Priority 4: Low-priority accounts. Forums, old shopping sites you barely use, accounts you're not sure you still need. Update these last. If an account isn't worth the effort to update, consider deleting it instead. Dormant accounts create breach exposure without delivering value.
Step 6: Update contacts and notify key people
Your contacts don't automatically learn your new address. You have three options for notifying them.
Option 1: Send a group email from the old address. Compose a message explaining the change. Include the new address prominently. Send it to everyone in your contacts list. This works for personal contacts but feels impersonal for close friends and family.
Option 2: Update your email signature. Add a line to your signature on the old account: "Note: I'm transitioning to [new address]. Please update your contacts." Every reply you send notifies the recipient.
Option 3: Let it happen gradually. Start using the new address for outgoing mail. People who reply to you will see the new address and update their contacts. This takes longer but requires less active notification.
For close contacts, family, friends, frequent collaborators, send individual messages. Explain the change, provide the new address, and ask them to update their address books.
Step 7: Monitor the old account for stragglers
Even after you've updated your major accounts and notified contacts, some messages will still arrive at the old address. Forwarding catches them, but you need to identify the senders and update those accounts too.
Check the old inbox once a week for the first month. Look for automated messages: password resets, order confirmations, account notifications, newsletters. Each one reveals an account you missed.
Update those accounts as you find them. Add them to your spreadsheet. Cross them off when done.
After a month, reduce your check-in frequency to once every two weeks. After three months, once a month. The goal is to catch everything without obsessing.
Step 8: Decide when to close the old account
You don't have to close the old account. Many people run two email addresses indefinitely. One for new signups, one for legacy accounts. Forwarding rules route everything to a single inbox.
If you do want to close the old account, wait at least three months after setting up forwarding. This gives you time to catch stragglers and verify that critical accounts are updated.
Before closing:
- Download a final backup of all messages. Even if you already migrated, a second backup protects against data loss.
- Check for any accounts you might have missed. Search your inbox one last time for confirmation emails and account-related messages.
- Verify that all financial, healthcare, and identity-critical accounts are updated. Log into each one and confirm the new email is registered.
- Notify your closest contacts one more time. Send a final message from the old address announcing the closure date.
When you're ready, follow the provider's account closure process. Most require you to log in, navigate to account settings, and confirm deletion. Some providers impose a waiting period, 30 to 90 days, before permanent deletion. During that window, you can still recover the account if you change your mind.
The Schitt's Creek problem: when your email address is your identity
In Schitt's Creek, the Rose family loses everything and has to rebuild from scratch. Their old life, the mansion, the staff, the social network, vanishes. The new life starts with nothing.
Email migration is the opposite. You're not starting over. You're moving infrastructure from one foundation to another while keeping the structure intact. The old address keeps working during the transition. You control the timeline. Nothing breaks unless you let it.
The mistake people make is treating email migration like a hard cutover. They close the old account on day one, then spend weeks recovering from broken logins and lost messages. That's not migration. That's self-inflicted chaos.
The right approach is incremental. Move messages first. Set up forwarding. Update accounts one category at a time. Let contacts discover the new address gradually. Monitor the old inbox for stragglers. Close the old account only when you're certain nothing critical depends on it.
This takes time, but time is the asset. The old account stays active. Forwarding catches mistakes. You fix problems before they become crises.
Common mistakes that turn migration into a disaster
Mistake 1: Closing the old account too soon. You think you've updated everything. You haven't. Closing the account before verifying every critical login turns a manageable process into an emergency. Wait three months minimum.
Mistake 2: Forgetting to update two-factor authentication. Some accounts send 2FA codes to your email. If you update the email address but forget to update the 2FA delivery method, you lock yourself out. Check 2FA settings whenever you update an account's email.
Mistake 3: Not downloading a backup before starting. Migrations fail. Import tools crash. IMAP connections drop. If you don't have a local backup of your old messages before you start, you risk losing years of email. Download everything first.
Mistake 4: Using the old address for new signups during migration. Habit is strong. You're three weeks into migration, you sign up for a new service, and you reflexively enter the old email address. Now you have to update that account too. Discipline matters. Use the new address for everything new, starting on day one.
Mistake 5: Ignoring email aliases and forwarding rules. If your old account has aliases (like name+shopping@gmail.com) or forwarding rules that route mail to other addresses, those need to be recreated on the new account. People forget, then wonder why certain messages never arrive.
What about work email?
This guide covers personal email migration. Work email is different. Your employer owns the address. You can't take it with you when you leave. You can't migrate it to a personal provider.
If you're leaving a job, forward work email to your personal address before your last day. This gives you access to messages you might need later, contacts, project details, confirmation emails for work-related accounts. But understand the legal and security implications. Some employers prohibit forwarding. Some industries (healthcare, finance, legal) have compliance rules that make forwarding a violation.
If forwarding is allowed, do it. If it's not, download critical messages manually before you lose access. Export contacts. Document anything you'll need to reference later.
For ongoing work, keep work email separate from personal email. Don't use your work address to sign up for personal accounts. Don't use your personal address for work accounts. The separation protects both sides when employment ends.
You don't have to switch all at once
The biggest mental block people face is thinking email migration is all-or-nothing. It's not. You can run two addresses for years. You can migrate some accounts and leave others on the old address. You can forward mail indefinitely and never close the old account.
The process is flexible because you control the timeline. The old address keeps working. Forwarding catches stragglers. You update accounts at your own pace.
If switching providers feels overwhelming, start small. Set up the new account. Move your messages. Configure forwarding. Use the new address for new signups. Leave everything else alone for now.
Then, when you're ready, start updating accounts. One category at a time. One account per day if that's your pace. There's no deadline. The infrastructure supports gradual migration.
The goal isn't speed. The goal is a clean transition where nothing breaks, no data is lost, and you stay in control the entire time. Take as long as you need.