Pre-Travel Security Checklist: What to Lock Down Before You Leave
You're going somewhere. Work trip, family visit, vacation. Doesn't matter. The moment you leave your usual network, your threat surface expands. Hotel WiFi. Airport terminals. Coffee shops in cities where you don't speak the language. Border crossings where agents can demand your unlocked phone.
Most travel security advice is either paranoid fantasy or marketing. You don't need a burner phone for a trip to Toronto. You don't need to memorize all your passwords and travel with a wiped laptop unless you're a journalist covering a hostile government. But you do need to think through what you're carrying, what it can access, and what happens if it gets lost, stolen, or inspected.
This is a practical checklist. Do these things before you leave. They take around two hours total. They protect you from the threats that actually happen to travelers.
Before You Pack: Account Security
Your accounts are more vulnerable when you're traveling because you're logging in from unfamiliar locations, sometimes on networks you don't control. Start here.
Enable Two-Factor Authentication on Critical Accounts
If you haven't already enabled two-factor authentication, do it now. Start with email. Your email account is the skeleton key to password resets across every other service you use. If someone gets into your email while you're traveling, they can reset passwords for banking, social media, cloud storage, and everything else.
Use an authenticator app, not SMS. SMS codes can be intercepted through SIM swapping attacks, and they don't work reliably when you're roaming internationally. Authenticator apps work offline and generate codes locally.
Enable 2FA on:
- Email (all accounts)
- Banking and financial services
- Social media
- Cloud storage (Google Drive, Dropbox, iCloud)
- Password manager
- Work accounts
Some services offer backup codes you can print or store offline. Generate those codes and keep them somewhere separate from your devices. If you lose your phone, you can still get into your accounts.
Review Account Recovery Settings
Check your account recovery options before you leave. If you get locked out while traveling, you need a way back in that doesn't depend on a device you might not have access to.
Log into your email provider and verify:
- Recovery email address is current and accessible
- Recovery phone number is current
- Backup codes are generated and stored securely
Do the same for your password manager. If you can't get into your password manager while traveling, you can't get into anything else.
Check for Suspicious Activity
In The Hunt for Red October, Sean Connery's character says the key to detecting a submarine is knowing what normal looks like. Same principle applies to your accounts. Before you leave, look at what normal activity looks like so you can spot anomalies while you're away.
Most services offer activity logs:
- Google: myaccount.google.com/security
- Microsoft: account.microsoft.com/security
- Apple: appleid.apple.com (Devices section)
- Facebook: Settings > Security and Login > Where You're Logged In
Look for:
- Devices you don't recognize
- Login locations that don't match your recent travel
- Sessions that are still active from months ago
Revoke access to anything suspicious. Sign out of old sessions. This reduces the number of active entry points to your accounts.
Update Your Password Manager
If you're using a password manager, make sure it's synced across all devices you're bringing. Generate new passwords for any accounts you created since your last trip. Verify that your master password works and that you remember it.
If you're not using a password manager, you're carrying reused passwords across borders. That's a worse risk than most of the threats you're trying to avoid. Set one up before you leave.
Device Preparation
Every device you bring is a potential target for theft, loss, or inspection. The goal is to minimize what's on the device and maximize your ability to recover if something happens to it.
Enable Full-Disk Encryption
Modern devices encrypt storage by default, but verify it's actually enabled:
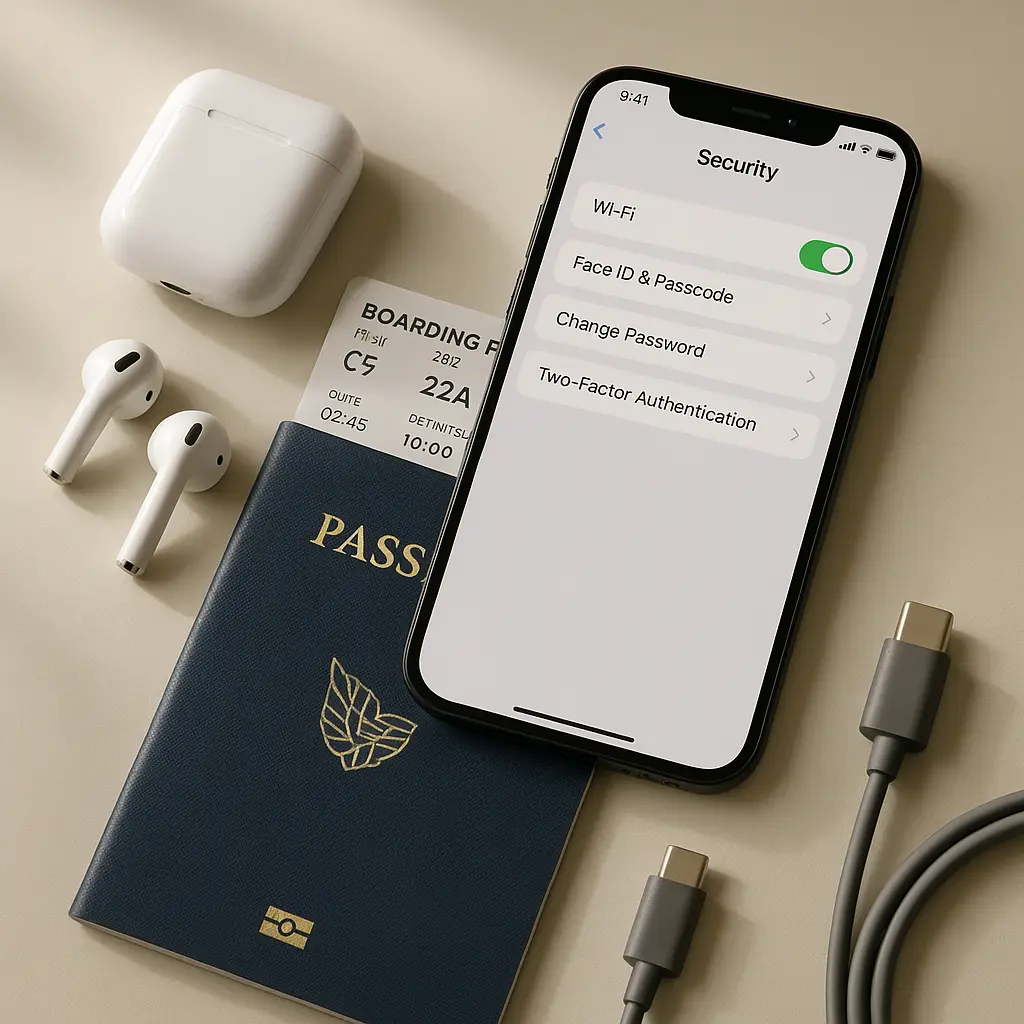
iPhone/iPad: Settings > Face ID & Passcode (or Touch ID & Passcode). If you have a passcode set, encryption is enabled. Use a six-digit PIN at minimum. Longer is better.
Android: Settings > Security > Encryption. Most Android devices running 6.0 or later encrypt by default when you set a lock screen. Verify it's enabled.
Mac: System Preferences > Security & Privacy > FileVault. Turn it on if it's not already enabled.
Windows: Settings > Update & Security > Device Encryption. Windows 11 enables BitLocker by default on most hardware. Older versions require manual activation.
Encryption protects your data if the device is stolen or lost. Without encryption, anyone with physical access can pull files off the drive.
Set Strong Lock Screen PINs
Your lock screen is the first line of defense. Use a six-digit PIN at minimum. Longer is better. Biometrics (fingerprint, face recognition) are convenient, but PINs are what protect you when biometrics fail or when you're compelled to unlock the device.
Some countries allow border agents to compel you to unlock a device using biometrics, but not to compel you to provide a PIN. Check the laws for your destination, but assume biometrics offer less legal protection than PINs.
Set your device to wipe after 10 failed PIN attempts. This protects against brute-force attacks if the device is stolen.
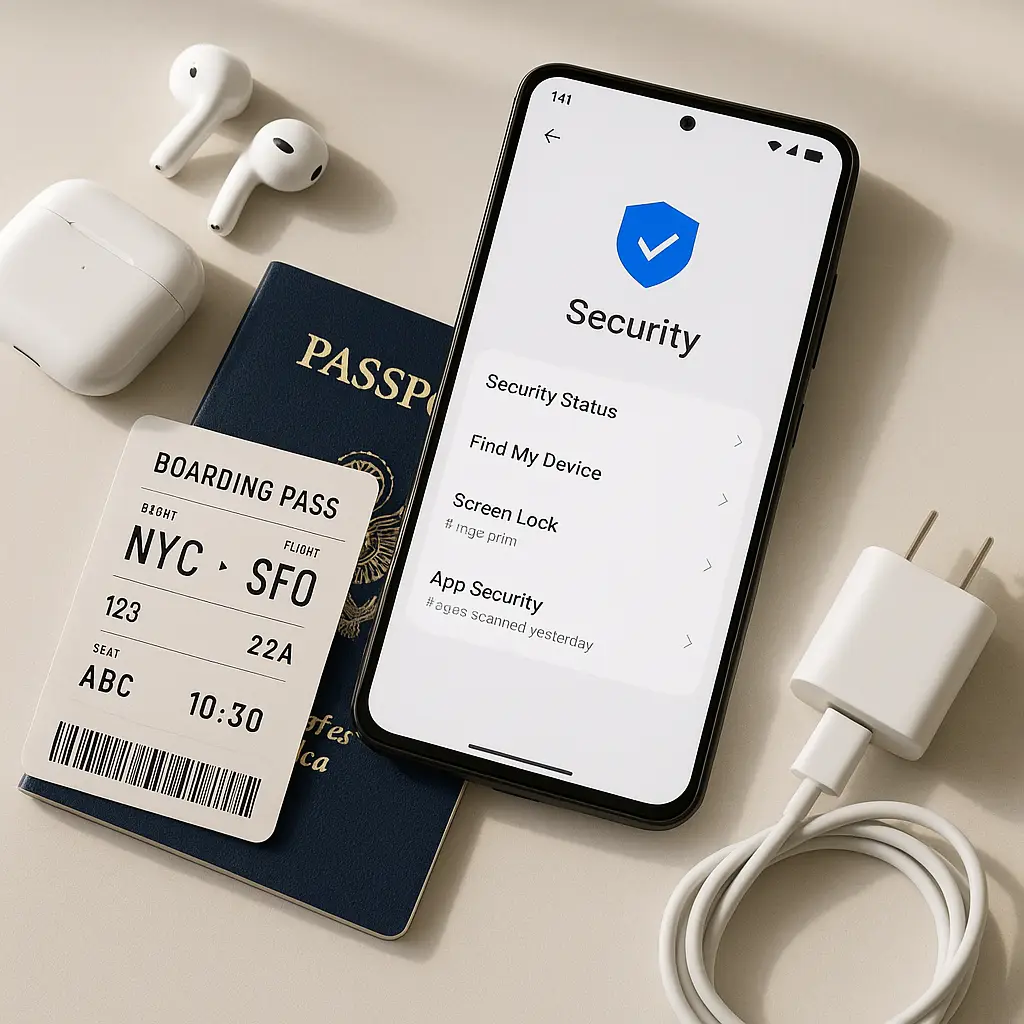
Enable Remote Wipe and Device Tracking
Before you leave, enable:
- iPhone/iPad: Find My iPhone (Settings > [Your Name] > Find My)
- Android: Find My Device (Settings > Security > Find My Device)
- Mac: Find My Mac (System Preferences > Apple ID > iCloud > Find My Mac)
- Windows: Find My Device (Settings > Update & Security > Find My Device)
These services let you locate a lost device, lock it remotely, and wipe it if necessary. They require the device to be online, so they won't help if the device is offline or in airplane mode, but they're your best option if the device is stolen and still connected.
Back Up Everything
Back up your devices before you leave. If your phone gets stolen in Prague, you want to restore to a new device without losing photos, messages, or app data.
Use cloud backup:
- iPhone/iPad: iCloud Backup (Settings > [Your Name] > iCloud > iCloud Backup)
- Android: Google One or manufacturer backup (Settings > System > Backup)
- Mac: Time Machine to external drive or cloud service
- Windows: File History or cloud backup service
Verify the backup completed successfully. Test a restore if you've never done one before. Backups are useless if you can't restore from them.
Remove Unnecessary Apps and Data
Every app on your device is a potential data leak. Before you travel, remove apps you won't use. Delete files you don't need access to. Clear browser history and cached credentials.
This is especially important for work devices. If you're crossing a border with a work laptop, consider whether you actually need access to the full corporate network while you're away. Many companies allow you to access email and core services through a web interface without carrying the full device.
If your work involves sensitive data, talk to your IT department about travel policies. Some organizations issue travel-specific devices with limited access. Others require you to wipe your laptop before crossing certain borders and restore from backup once you're through.
Update Everything
Install all available updates before you leave:
- Operating system
- Apps
- Firmware
Unpatched devices are easier to compromise. Researchers have found that attackers target travelers specifically because they're more likely to connect to untrusted networks and less likely to notice anomalous behavior while they're focused on logistics.
Updates take time and sometimes require multiple restarts. Do this at home, not in an airport terminal.
Network Security
You're going to connect to networks you don't control. Hotel WiFi. Coffee shop hotspots. Airport terminals. Some of those networks are fine. Some are compromised. Some are actively hostile. You can't tell which is which by looking at the network name.
Install a VPN Before You Leave
A VPN encrypts your traffic between your device and the VPN server, which protects you from anyone monitoring the network you're connected to. It also lets you access services that are region-locked or blocked in your destination country.
I use NordVPN because it has servers in enough countries to be useful for international travel and it auto-connects when I join an untrusted network. Other reputable options include ExpressVPN and Proton VPN.
Install the VPN app on all devices you're bringing. Test it before you leave. Verify that it connects and that you can access the services you need while connected. Some services (banking, streaming) block VPN traffic, so know what works and what doesn't before you rely on it.
Configure the VPN to auto-connect on untrusted networks. Most VPN apps offer this as an option. It means you don't have to remember to turn it on every time you connect to hotel WiFi.
Disable Auto-Connect for WiFi Networks
Your devices remember WiFi networks you've connected to and will automatically reconnect when they detect those networks again. Attackers can create fake networks with the same name as popular hotels or coffee shops. Your device will connect automatically, and you won't notice.
Disable auto-connect:
- iPhone/iPad: Settings > WiFi > tap the (i) next to each network > disable Auto-Join
- Android: Settings > Network & Internet > WiFi > Saved Networks > tap each network > disable Auto-Connect
- Mac: System Preferences > Network > WiFi > Advanced > remove networks you don't need, or uncheck "Remember networks this computer has joined"
- Windows: Settings > Network & Internet > WiFi > Manage Known Networks > remove networks you don't need
This forces you to manually connect to networks, which means you'll notice if a network name looks suspicious.
Turn Off Sharing Features
Disable AirDrop, Bluetooth discovery, file sharing, and similar features that broadcast your device's presence:
- iPhone/iPad: Settings > General > AirDrop > Receiving Off
- Android: Settings > Connected Devices > Connection Preferences > disable Nearby Share
- Mac: System Preferences > Sharing > disable all sharing services
- Windows: Settings > Network & Internet > disable network discovery and file sharing
These features are convenient at home. They're attack vectors when you're traveling.
International Travel Considerations
Crossing borders introduces risks that don't exist when you're traveling domestically. Border agents in many countries have broad authority to search devices, demand passwords, and copy data. The legal protections you have at home may not apply.
Understand Border Search Rules
In the United States, border agents can search electronic devices without a warrant. They can demand that you unlock the device and provide passwords. Refusing can result in the device being seized, and in some cases, denied entry.
Other countries have similar or broader rules. Canada, the UK, Australia, and New Zealand all allow warrantless device searches at borders. Some countries require travelers to provide social media passwords as a condition of entry.
You can't avoid border searches by encrypting your device. Encryption protects data at rest, but if you're compelled to unlock the device, the agent has access to everything.
Consider Traveling with Minimal Data
The most effective way to protect data at a border is to not have it on the device when you cross.
Options:
- Back up your device to cloud storage, wipe it before you cross the border, and restore from backup once you're through
- Travel with a secondary device that has limited data and limited account access
- Use a work-issued travel device with restricted access to corporate systems
- Access services through web interfaces instead of apps, which reduces the amount of cached data on the device
This isn't paranoia. It's a risk assessment. If you're traveling to a country with a history of targeting journalists, activists, or business travelers, consider what data you're carrying and whether you need it on the device.
If you're traveling for work and your laptop contains proprietary data, customer information, or access to production systems, talk to your legal and IT departments about travel policies. Some companies prohibit bringing certain devices across certain borders. Others require specific configurations or travel-only devices.
Use an eSIM for International Data
Traditional SIM cards can be swapped, which opens you up to SIM-swapping attacks where an attacker convinces your carrier to transfer your number to a SIM they control. This bypasses SMS-based two-factor authentication.
eSIMs are embedded in the device and can't be physically removed. They're also more convenient for international travel because you can activate a data plan without swapping hardware.
Saily offers eSIM data plans for over 150 countries. You install the eSIM profile before you leave and activate it when you arrive. Your primary number stays active for calls and texts, but data routes through the eSIM, which means you're not paying roaming fees.
This also means you can keep your primary SIM locked to your carrier and avoid SIM-swapping risks while you're traveling.
Financial Security
Traveling changes how you use financial services. You're making transactions in unfamiliar locations, sometimes in foreign currencies, sometimes on networks you don't fully trust.
Notify Your Bank and Credit Card Issuers
Most banks and credit card companies have fraud detection systems that flag transactions from unusual locations. If you don't notify them that you're traveling, your card might get blocked the first time you use it abroad.
Log into your bank's website or app and set a travel notice. Specify the countries you'll be visiting and the dates you'll be there. This tells the fraud detection system to expect transactions from those locations.
Do this for every card you're bringing. If you have multiple cards from the same issuer, you may need to set a travel notice for each one separately.
Use Credit Cards, Not Debit Cards
Credit cards offer better fraud protection than debit cards. If your credit card is compromised, you dispute the charge and the card issuer investigates. Your money stays in your account while they sort it out.
If your debit card is compromised, the money is gone from your account immediately. You file a dispute, the bank investigates, and maybe you get the money back. In the meantime, you're out whatever was stolen.
Bring at least two credit cards from different issuers. If one gets blocked or compromised, you have a backup.
Enable Transaction Alerts
Set up real-time alerts for every transaction on your cards. Most banks and credit card issuers offer this through their app or via SMS.
This lets you catch fraudulent transactions immediately. If you get an alert for a transaction you didn't make, you can freeze the card before additional charges go through.
Carry Minimal Cash
Cash can't be remotely wiped. If it's stolen, it's gone. Carry only what you need for immediate expenses. Use cards for everything else.
If you're traveling to a country where cash is the primary payment method, withdraw small amounts from ATMs as needed rather than carrying large amounts.
Physical Security
Your devices are valuable. They're also portable and easy to steal. Physical security matters as much as digital security when you're traveling.
Use a Cable Lock for Laptops
If you're working from a hotel room or coffee shop, use a cable lock to secure your laptop to a fixed object. Kensington locks fit most laptops and cost around $30. They won't stop a determined thief, but they stop opportunistic theft.
Don't Leave Devices Unattended
This should be obvious, but people do it constantly. Don't leave your laptop on a table while you go to the bathroom. Don't leave your phone on a bar while you order a drink. Don't check your laptop in luggage.
If you can't carry it with you, lock it in a hotel safe. Hotel safes aren't perfect, but they're better than leaving devices in plain sight.
Use Privacy Screens
Privacy screens limit the viewing angle of your screen, which makes it harder for someone sitting next to you on a plane or train to read over your shoulder. They're especially useful if you're working with sensitive information in public spaces.
3M makes privacy screens for most laptop models. They attach magnetically or with adhesive strips. They reduce screen brightness, but the tradeoff is worth it if you're working in close quarters with strangers.
What to Do When You Arrive
You've done the preparation. You've crossed the border. Now you're in your destination. Here's what to do when you connect for the first time.
Connect to the VPN Before Doing Anything Else
Before you check email, before you open a browser, before you do anything that sends data over the network, connect to your VPN. This establishes an encrypted tunnel before you start transmitting.
Verify that the VPN is connected by checking your IP address. Go to whatismyipaddress.com and verify that the IP address shown matches your VPN server location, not your physical location.
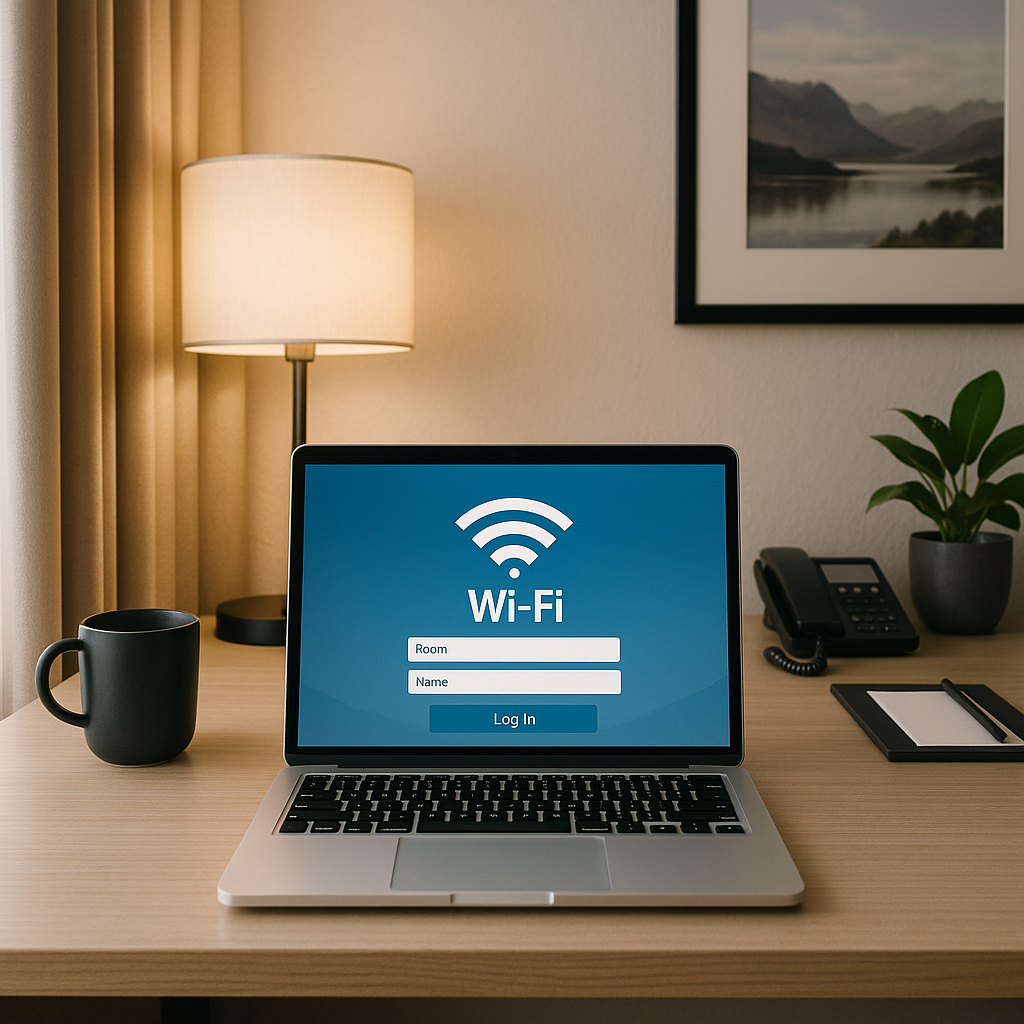
Verify You're on the Correct Network
Hotel WiFi networks often have names like "Hotel Guest" or "Lobby WiFi." Attackers create fake networks with similar names and wait for guests to connect. Once you're connected to the fake network, they can intercept your traffic.
Before you connect, verify the network name with hotel staff. Ask at the front desk what the correct network name is and whether it requires a password. If the network doesn't require a password, that's a red flag.
Check for HTTPS on Every Site
Even with a VPN, verify that every site you visit uses HTTPS. Look for the padlock icon in the address bar. If a site loads over HTTP instead of HTTPS, don't enter any credentials or personal information.
Modern browsers warn you when a site loads over HTTP, but verify manually. Attackers can strip HTTPS and downgrade connections to HTTP if you're on a compromised network.
Monitor Account Activity Daily
Check your bank accounts, credit card statements, and email activity logs daily while you're traveling. Look for transactions you don't recognize, login attempts from unfamiliar locations, or password reset requests you didn't initiate.
The faster you catch fraudulent activity, the easier it is to stop it.
When You Return
You made it back. Your devices are intact. Your accounts are secure. Here's what to do when you get home.
Change Passwords for Sensitive Accounts
If you logged into banking, email, or work accounts while traveling, change those passwords when you get home. This protects you in case your credentials were compromised on a network you used while traveling.
You don't need to change every password. Focus on accounts where a compromise would cause immediate damage: email, banking, password manager, work accounts.
Review Account Activity One More Time
Check your activity logs for every account you accessed while traveling. Look for sessions that are still active from locations you visited. Sign out of those sessions.
Check your credit card statements for the full billing cycle that covers your trip. Fraudulent charges sometimes don't appear until days or weeks after the transaction.
Remove Travel-Specific Configurations
If you set up a travel-specific VPN configuration, added a temporary eSIM, or changed settings to accommodate international networks, revert those changes now.
Remove saved WiFi networks from hotels, airports, and coffee shops. You won't need them again, and they clutter your saved networks list.
Restore from Backup If You Wiped Your Device
If you wiped your device before crossing a border, restore from the backup you made before you left. Verify that everything restored correctly: apps, photos, messages, settings.
Test a few apps to make sure they're working. Check that your two-factor authentication codes are generating correctly. Verify that your password manager synced.
These steps don't eliminate every risk. They reduce the most common ones to a level where international travel doesn't have to feel like a security trade-off. Pack the device habits with the rest of the trip prep, and the rest takes care of itself.
Related reading: