Lock Screen Settings Most People Get Wrong: A Step-by-Step Security Guide
Your phone's lock screen is the first defense against someone picking up your device and reading your messages, seeing your photos, or accessing your accounts. Most people configure it once during initial setup and never revisit it. That's a mistake. The default settings prioritize convenience over privacy, and the tradeoffs aren't obvious until someone's reading your texts over your shoulder.
This guide walks through every lock screen setting that matters, explains what each one protects, and gives you the step-by-step configuration that balances security with usability. No theory. No aspirational advice. Just the settings to change, the values to use, and the reasons they matter.
Why Lock Screen Settings Matter More Than You Think
Your lock screen sits between the world and everything on your phone. When configured correctly, it stops casual snooping, limits what thieves can access, and protects your privacy when your phone is sitting on a table. When configured poorly, it leaks information you'd never intentionally share.
The most common mistake is leaving notification content visible. By default, most phones show the full text of incoming messages, email subject lines, and app alerts right on the lock screen. Anyone who glances at your phone sees what you're receiving. That includes:
- Text message content from contacts
- Email subject lines and senders
- Calendar event titles and locations
- App notifications with sensitive content
- Two-factor authentication codes
- Banking alerts with partial account numbers
The second most common mistake is using a weak unlock method. A 4-digit PIN, a simple swipe pattern, or no lock at all leaves your phone vulnerable to anyone who picks it up. The third mistake is setting the auto-lock timeout too long, which means your phone stays unlocked for minutes after you set it down.
CISA's mobile device security guidance emphasizes lock screen configuration as a foundational control. The agency recommends strong authentication, minimal notification exposure, and short timeout periods. These aren't aspirational goals. They're the baseline for protecting a device that contains your email, banking, photos, and messages.
Step 1: Choose Your Unlock Method (And Use Two Factors)
Your unlock method determines how hard it is for someone else to access your phone. The options, ranked from weakest to strongest:
Swipe or no lock: forbidden. Anyone can access your phone instantly.
4-digit PIN: 10,000 possible combinations. A determined person can guess common PINs (1234, 0000, 1111, birth years) in minutes. Acceptable only if you're also using biometrics and need a fallback.
6-digit PIN: 1,000,000 possible combinations. Meaningfully harder to guess. This is the minimum for PIN-only security.
Alphanumeric password: strongest against guessing, but slow to type. Most people won't use this consistently, which means they'll disable the lock entirely when it becomes annoying.
Fingerprint or Face ID: fast, convenient, and harder for casual observers to replicate. But biometrics have legal and practical vulnerabilities. In some jurisdictions, law enforcement can compel you to unlock your phone with your fingerprint but not your PIN. Biometrics also fail when your hands are wet, you're wearing gloves, or the sensor is dirty.
The best configuration uses both: biometrics for everyday unlocking, and a 6-digit PIN as the fallback. This gives you speed and convenience most of the time, with a strong backup when biometrics fail.
iPhone Configuration
- Open Settings → Face ID & Passcode (or Touch ID & Passcode).
- Tap "Change Passcode."
- When prompted for the new passcode, tap "Passcode Options."
- Select "6-Digit Numeric Code."
- Enter a 6-digit PIN you can remember. Avoid obvious patterns (123456, 111111, your birth year).
- Enable Face ID or Touch ID for "iPhone Unlock."
Apple's passcode documentation explains the options in detail. The default is a 6-digit PIN, which is correct. If you changed it to 4 digits at some point, fix it now.
Android Configuration
- Open Settings → Security (or Settings → Lock Screen, depending on your device).
- Tap "Screen Lock."
- Select "PIN" and choose "6 digits."
- Enter your PIN twice.
- Go back to Security settings and enable "Fingerprint Unlock" (or "Face Unlock" if available).
NIST's mobile device security guidelines recommend PINs of at least six digits for personal devices and longer for devices handling sensitive information. Six digits is the practical minimum for balancing security and usability.
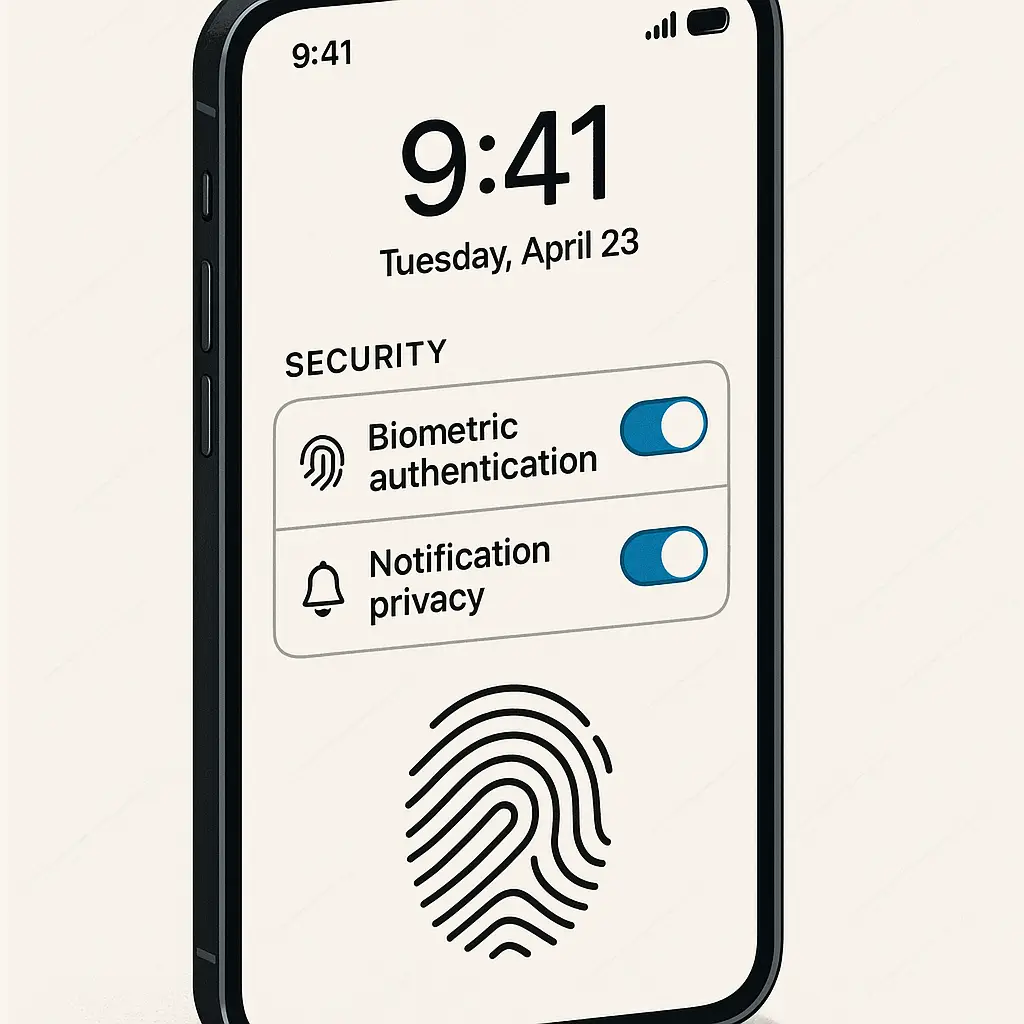
Step 2: Hide Notification Content (Not Notifications Themselves)
This is the setting most people get wrong. By default, your phone shows the full content of notifications on the lock screen. That means anyone who picks up your phone or glances at it on a table can read your messages, see your calendar events, and view app alerts without unlocking anything.
The fix is to hide notification content while keeping the notification count visible. This way, you know something arrived, but the details stay private until you unlock your phone.
iPhone Configuration
- Open Settings → Notifications → Show Previews.
- Select "When Unlocked."
This hides the content of all notifications when your phone is locked. You'll still see that you have a text message or an email, but the message content and sender name won't appear until you unlock the phone.
For apps with particularly sensitive content (banking apps, password managers, health apps), you can disable lock screen notifications entirely:
- Open Settings → Notifications.
- Select the app.
- Toggle off "Lock Screen."
Android Configuration
- Open Settings → Notifications (or Settings → Lock Screen → Notifications, depending on your device).
- Tap "Lock Screen Notifications" or "On the Lock Screen."
- Select "Hide Sensitive Content."
This setting hides message text, email subjects, and app-specific details while still showing that a notification arrived. Some Android devices also let you disable lock screen notifications per app:
- Open Settings → Notifications.
- Select the app.
- Toggle off "On Lock Screen."
EFF's Surveillance Self-Defense guide emphasizes notification privacy as a foundational step. Hiding content doesn't make notifications disappear. It just keeps the details private until you unlock your phone.
Step 3: Set the Auto-Lock Timeout to 30 Seconds
The auto-lock timeout determines how long your phone stays unlocked after you stop using it. Most phones default to 1 minute or longer. That's too long. If you set your phone down while it's unlocked, anyone who picks it up within that window has full access.
The practical minimum is 30 seconds. Shorter than that becomes annoying, your phone locks while you're reading something or showing someone a photo. Longer than that leaves too much exposure.
iPhone Configuration
- Open Settings → Display & Brightness → Auto-Lock.
- Select "30 Seconds."
Android Configuration
- Open Settings → Display → Screen Timeout (or Settings → Lock Screen → Screen Timeout, depending on your device).
- Select "30 Seconds."
Some Android devices call this "Sleep" or "Auto Screen Off." The label varies, but the function is the same.
Step 4: Disable Lock Screen Access to Sensitive Features
Your phone lets you access certain features from the lock screen without unlocking. Some of these are harmless (the camera, the flashlight). Others leak information or give access you probably don't want to grant.
iPhone: Disable Today View, Notification Center, and Control Center
- Open Settings → Face ID & Passcode (or Touch ID & Passcode).
- Scroll to "Allow Access When Locked."
- Toggle off:
- Today View and Search
- Notification Center
- Control Center
- Siri (if you don't use it regularly)
- Wallet (if you don't use Apple Pay frequently)
- Return Missed Calls
- USB Accessories
Leave enabled:
- Emergency Call (required)
- Medical ID (if you've set one up)
Today View and Notification Center can expose calendar events, recent apps, and widgets with sensitive content. Control Center lets anyone toggle Airplane Mode, which disables Find My iPhone. Siri can sometimes answer questions about your calendar, messages, or contacts without unlocking the phone.
Android: Disable Smart Lock and Lock Screen Shortcuts
- Open Settings → Security → Smart Lock (or Settings → Lock Screen → Smart Lock).
- Disable all Smart Lock options:
- On-body detection
- Trusted places
- Trusted devices
- Voice Match
Smart Lock keeps your phone unlocked in certain contexts (when it's in your pocket, when you're at home, when it's connected to your smartwatch). These features are convenient, but they bypass the lock screen entirely, which defeats the purpose of having one.
Some Android devices also let you customize lock screen shortcuts (camera, voice assistant, etc.):
- Open Settings → Lock Screen → Shortcuts.
- Disable any shortcuts you don't use regularly.
Step 5: Require Immediate Lock After Screen Timeout
Some phones have a separate setting that adds a grace period between when the screen turns off and when the lock engages. This means your phone might turn off after 30 seconds but not actually lock for another 30 seconds or more. During that window, anyone can wake the screen and access your phone without unlocking it.
The fix is to set the lock delay to "Immediately."
iPhone Configuration
- Open Settings → Face ID & Passcode (or Touch ID & Passcode).
- Toggle on "Require Passcode" and set it to "Immediately."
Android Configuration
This setting varies by device. Look for:
- Settings → Security → Secure Lock Settings → Lock After Screen Timeout
- Settings → Lock Screen → Secure Lock Settings → Lock Immediately
Set it to "Immediately" or "0 seconds."
Step 6: Disable USB Accessories When Locked
When your phone is locked, it can still communicate with USB accessories. This is how law enforcement and forensic tools extract data from locked iPhones using devices like GrayKey or Cellebrite. The attack requires physical access and specialized hardware, but it's real.
The defense is to disable USB data connections when the phone is locked.
iPhone Configuration
- Open Settings → Face ID & Passcode (or Touch ID & Passcode).
- Scroll to "Allow Access When Locked."
- Toggle off "USB Accessories."
When this is disabled, your phone will still charge when plugged in, but it won't exchange data with the connected device unless you unlock the phone first.
Apple's security documentation explains this as "USB Restricted Mode." After one hour of being locked, the Lightning port stops accepting data connections from accessories. Disabling USB Accessories entirely removes the one-hour window.
Android Configuration
Android doesn't have a direct equivalent to iOS's USB Restricted Mode, but you can limit USB functionality:
- Open Settings → Developer Options.
- Set "Default USB Configuration" to "Charging Only."
If Developer Options isn't visible:
- Go to Settings → About Phone.
- Tap "Build Number" seven times to enable Developer Options.
This setting prevents your phone from automatically mounting as a storage device or accepting ADB commands when plugged into a computer.
Step 7: Enable Find My Device (And Test It)
If your phone is stolen, the lock screen buys you time, but it won't stop a determined thief forever. Find My Device (iPhone) or Find My Device (Android) lets you locate, lock, or wipe your phone remotely.
iPhone Configuration
- Open Settings → [Your Name] → Find My.
- Toggle on "Find My iPhone."
- Toggle on "Send Last Location."
"Send Last Location" makes your phone report its location to Apple when the battery is critically low. This gives you one last chance to find it before it dies.
Android Configuration
- Open Settings → Security → Find My Device (or Settings → Google → Find My Device).
- Toggle on "Find My Device."
Test both services by logging into the web interface:
- iPhone: icloud.com/find
- Android: android.com/find
Make sure your phone appears on the map. If it doesn't, the service isn't configured correctly.
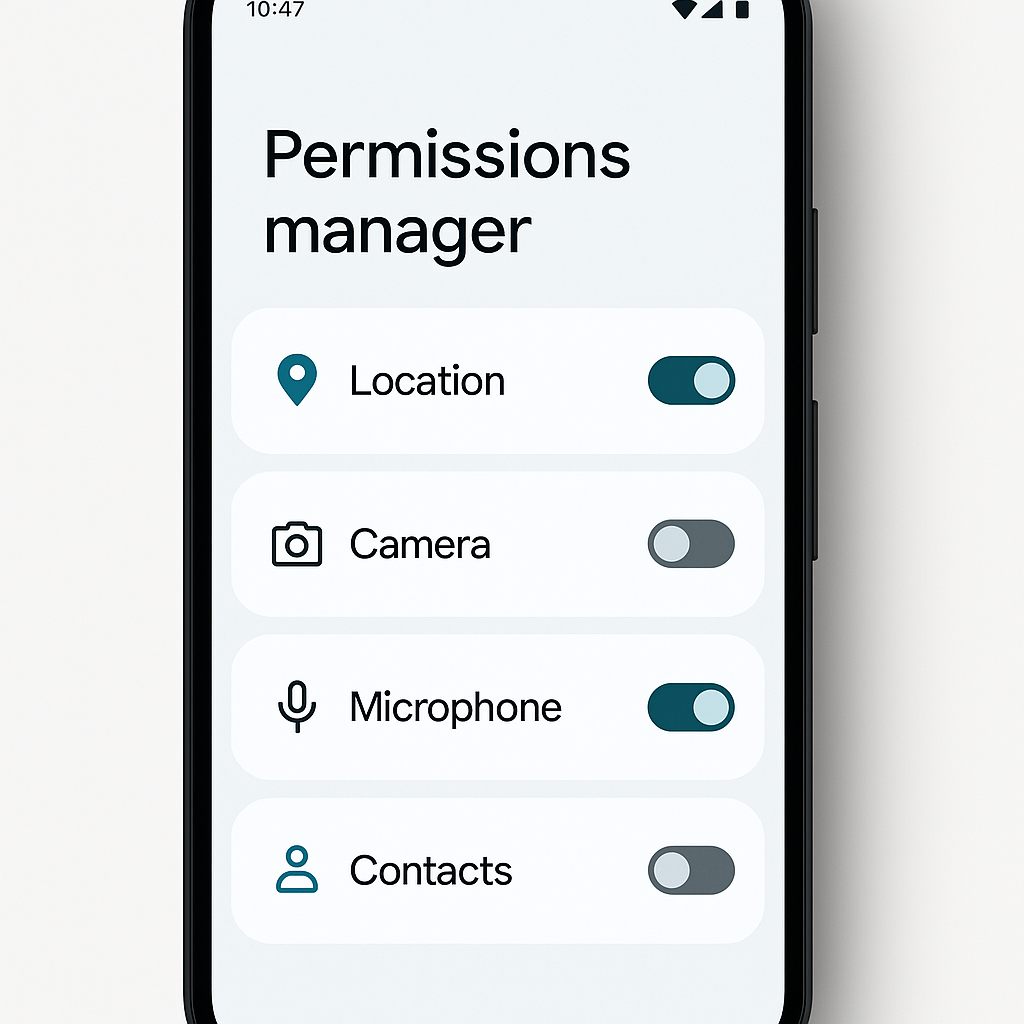
Step 8: Review App Permissions for Lock Screen Access
Some apps request permission to display notifications on the lock screen. Most of these are fine, but apps with sensitive content (banking, health, dating, therapy, etc.) should not show notifications on the lock screen at all.
iPhone Configuration
- Open Settings → Notifications.
- Scroll through your installed apps.
- For any app with sensitive content, tap it and toggle off "Lock Screen."
Android Configuration
- Open Settings → Notifications.
- Tap "Lock Screen Notifications" or "App Notifications."
- Review each app and disable lock screen notifications for sensitive apps.
Step 9: Disable Biometric Unlock in High-Risk Situations
Biometrics are convenient, but they're not appropriate in every context. If you're crossing a border, attending a protest, or in any situation where someone might compel you to unlock your phone, disable biometrics temporarily.
iPhone: Disable Face ID or Touch ID Temporarily
Press and hold the side button and either volume button for two seconds. This disables Face ID or Touch ID until you unlock with your passcode. The phone doesn't give any visible indication that biometrics are disabled.
Alternatively, power off your phone. When you turn it back on, it requires your passcode before biometrics re-enable.
Android: Disable Fingerprint Temporarily
Press and hold the power button, then tap "Lockdown" (if available). This disables fingerprint unlock, Smart Lock, and lock screen notifications until you unlock with your PIN.
If Lockdown isn't available, power off your phone. When you turn it back on, it requires your PIN before fingerprint unlock re-enables.
The One Cultural Reference That Fits
In The Sopranos, Tony Soprano's crew uses burner phones, code words, and face-to-face meetings because they know phones leak information. They're not worried about sophisticated surveillance. They're worried about the obvious: someone picks up the phone, reads the messages, and now they know too much.
Your lock screen is the same problem. You're not defending against the NSA. You're defending against the person sitting next to you on the train, the coworker who picks up your phone to "just check the time," or the thief who grabs it off a table. The lock screen stops casual access. That's the threat model. That's what these settings protect against.
What This Doesn't Protect Against
Lock screen security is the first layer, not the only layer. It stops casual snooping and buys you time after theft, but it doesn't protect against:
-
Sophisticated forensic tools: law enforcement and private firms have tools that can bypass lock screens given enough time and physical access. Your defense is to wipe the phone remotely using Find My Device as soon as you know it's stolen.
-
Shoulder surfing: if someone watches you type your PIN, the lock screen is useless. Be aware of your surroundings when unlocking your phone in public.
-
Malware: if your phone is compromised, the lock screen won't stop malicious software from accessing your data. Keep your OS updated and don't install apps from untrusted sources.
-
Backup access: if someone has your iCloud or Google password, they can access your data through backups, even if they can't unlock your phone. Use a strong, unique password for your Apple ID or Google account, and enable two-factor authentication.
For more on securing your phone beyond the lock screen, see Phone Security Basics That Actually Matter.
Common Questions About Lock Screen Settings
What if I forget my PIN?
On iPhone, you'll need to erase the device and restore from backup. On Android, the process depends on your device, but most require a factory reset. This is why you should test your PIN regularly and make sure you can remember it under pressure.
If you use a password manager, store your phone's PIN in it. That sounds circular, but it works: you can access your password manager from another device if you forget your phone's PIN.
Can I use a pattern instead of a PIN?
Android allows unlock patterns. They're weaker than 6-digit PINs because there are fewer possible combinations (around 400,000 for a 9-dot pattern), and patterns leave visible smudge marks on the screen that can reveal the unlock sequence.
If you prefer patterns for usability, use the longest pattern your device allows and clean your screen regularly.
Should I use a password instead of a PIN?
Alphanumeric passwords are stronger than PINs, but they're slower to type, which means most people won't use them consistently. A 6-digit PIN with biometrics is the better tradeoff for most people.
If you handle particularly sensitive information on your phone (you're a journalist, activist, lawyer, or similar), an alphanumeric password makes sense. Otherwise, stick with six digits.
What about Face ID in public?
Face ID works from around 10-20 inches away. Someone standing close to you could potentially unlock your phone by pointing it at your face. The defense is to cover the Face ID sensor (top of the screen) with your thumb when unlocking in crowded spaces, or use your PIN instead.
Do I need to change these settings on my tablet?
Yes. Tablets have the same lock screen vulnerabilities as phones. Apply the same configuration: 6-digit PIN, biometrics, hidden notification content, 30-second timeout, and disabled USB accessories.
The Settings You Just Changed
If you followed this guide, your phone now:
- Requires a 6-digit PIN or biometrics to unlock
- Hides notification content on the lock screen
- Locks automatically after 30 seconds of inactivity
- Disables lock screen access to Today View, Control Center, and Siri (iPhone) or Smart Lock (Android)
- Requires immediate lock after screen timeout
- Disables USB data connections when locked
- Has Find My Device enabled and tested
- Hides notifications for sensitive apps
These settings stop casual snooping, limit what thieves can access, and protect your privacy when your phone is visible to others. They don't make your phone invulnerable, but they close the gaps most people leave open.
The lock screen is the first defense. It's not the only defense. But it's the one that matters most often, in the most common situations, against the most common threats. Configure it correctly, and you've handled the baseline.
Related reading: