Audit Your Microsoft Account: Step-by-Step Security Review
Your Microsoft account controls access to Outlook, OneDrive, Office, Xbox, and dozens of other services. A security audit reviews who has access, what devices are signed in, and whether your recovery options still work. This guide walks through the process step by step.
You'll spend around 15 minutes. No technical background required. By the end, you'll know exactly what's connected to your account and whether anything needs to change.
Why Microsoft Accounts Need Regular Audits
Microsoft accounts accumulate access over time. You sign in on a new laptop. You authorize an app to read your calendar. You add a recovery phone number and forget about it. Each connection is reasonable in the moment, but collectively they create a sprawl that most people never review.
The risk compounds when something changes. You sell a laptop without signing out. You switch phone numbers without updating recovery options. An app you authorized three years ago gets breached. Without regular audits, you won't know until something breaks.
Consumer protection literature commonly advises reviewing account access quarterly. That cadence catches most problems before they escalate. Set a calendar reminder for every three months. When it fires, follow this guide.
Step 1: Navigate to Security Settings
Start at account.microsoft.com. Sign in if you're not already. The landing page shows an overview of your account activity. Ignore it for now.
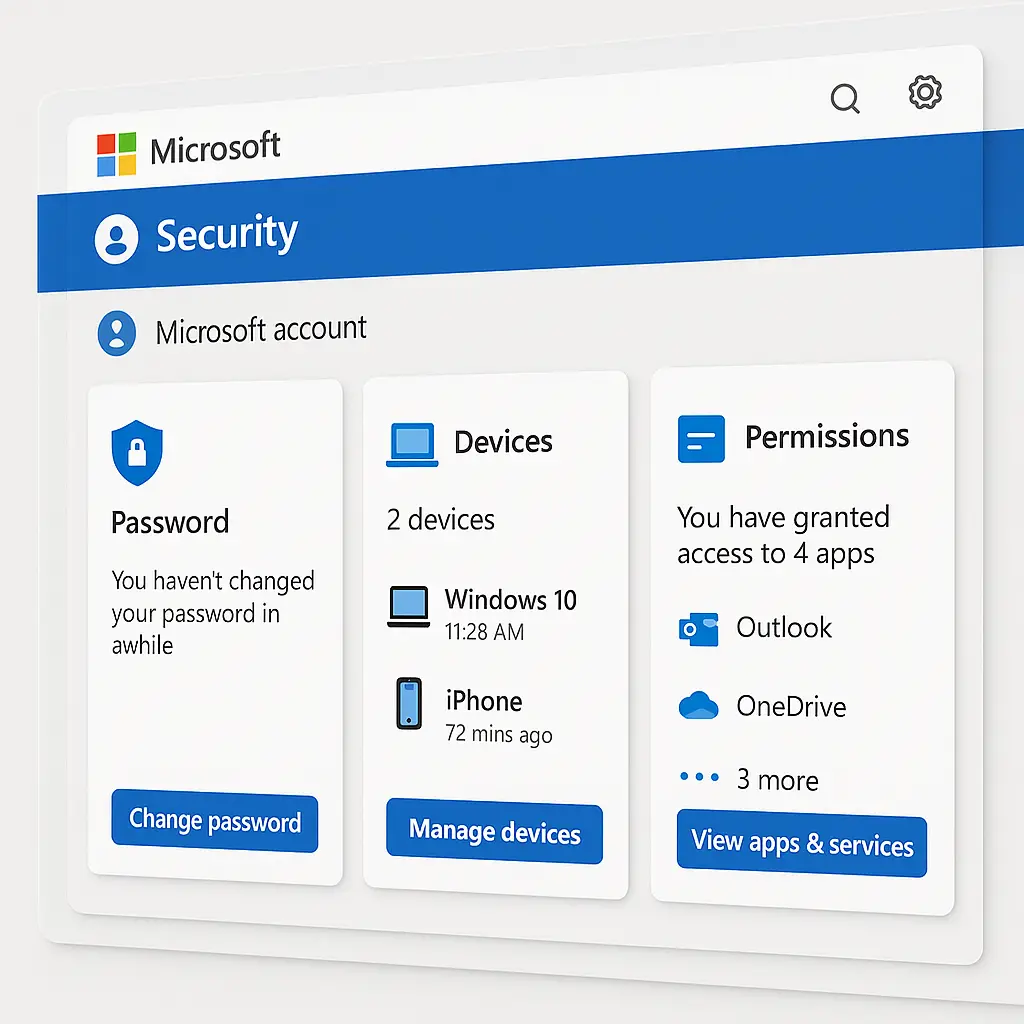
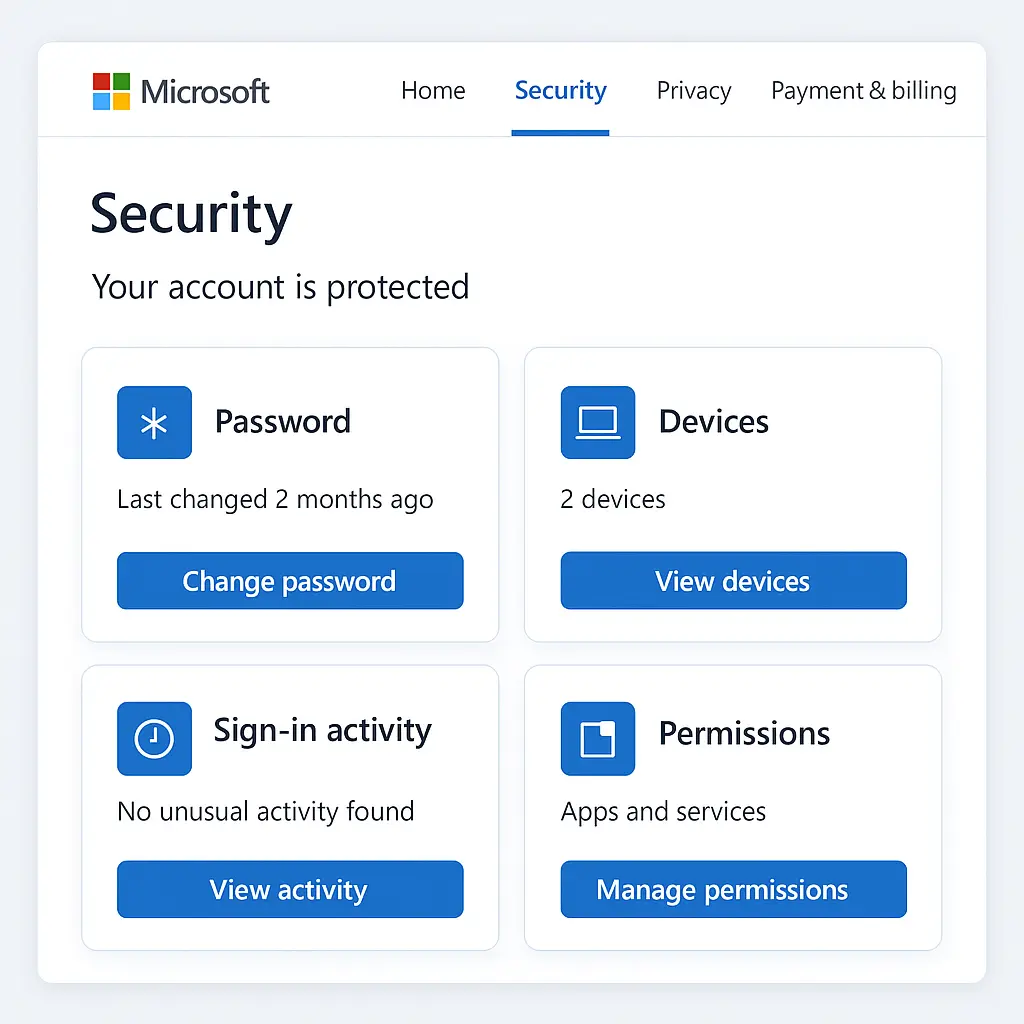
Click "Security" in the left navigation. This opens the Security dashboard, which organizes settings into sections: Security basics, Advanced security options, and Additional security options. Everything you need is here.
The dashboard shows color-coded status indicators. Green means configured. Orange means recommended. Red means action required. If you see red, address those items first. They're usually two-factor authentication or recovery options that aren't set up.
Step 2: Verify Two-Factor Authentication
Two-factor authentication (2FA) is the single most effective account protection you can enable. Without it, a stolen password gives an attacker full access. With it, they also need your phone or security key.
In the Security basics section, look for "Two-step verification" or "Multi-factor authentication." If it says "Off," click "Turn on." Microsoft will walk you through setup. You'll choose a method: authenticator app, SMS, phone call, or security key.
CISA recommends authenticator apps over SMS when possible. Apps generate codes locally, so they work without cell service and can't be intercepted through SIM swapping. Microsoft Authenticator, Google Authenticator, and Authy all work. Pick one, scan the QR code, and save the backup codes somewhere secure.
If 2FA is already on, verify your methods are current. Click "Manage" next to Two-step verification. Remove any methods tied to old phone numbers or devices you no longer have. Add a backup method if you only have one. Losing access to your only 2FA method locks you out permanently.
Step 3: Review Signed-In Devices
The "Devices" section lists every device currently signed into your Microsoft account. Each entry shows the device name, type, operating system, and last sign-in date. This is where you'll catch unauthorized access or forgotten sessions.
Go through the list. For each device, ask: do I recognize this? Is it still in my possession? Have I used it recently?
If you see a device you don't recognize, click it for details. Microsoft shows the approximate location of the last sign-in. If the location is wrong, or if the device type doesn't match anything you own, sign it out immediately. Use the "Sign out" button, not the "Remove device" option. Signing out ends the active session. Removing the device only deletes it from the list without ending access.
After signing out suspicious devices, change your password. If someone else had access, they could sign back in with the old password. Use a unique password you've never used before. If you're not using a password manager, now is the time to start.
Even if all devices look familiar, sign out any you haven't used in six months. Old sessions on forgotten devices are a common attack vector. Attackers probe for stale sessions because they're less likely to be monitored.
Step 4: Audit App Permissions
Apps and services request permission to access your Microsoft account data. Calendar apps read your schedule. Email clients send messages on your behalf. Cloud storage services sync files through OneDrive. Each permission is a potential risk if the app gets compromised or sold to a new owner.
In the Security dashboard, click "Apps and services" under Advanced security options. This shows every app with access to your account, the permissions granted, and the last time each app was used.
Go through the list. Remove anything you haven't used in six months. Remove anything you don't recognize. Remove anything that requests more permissions than it needs. A weather app doesn't need to read your email. A note-taking app doesn't need to manage your contacts.
Click each app to see its specific permissions. Microsoft breaks them into categories: read email, send email, access calendar, access contacts, access files, and similar. If an app has permissions it doesn't need, revoke them. If you can't revoke individual permissions, remove the app entirely.
Some apps will stop working when you revoke access. That's fine. If you need the app later, you can re-authorize it in seconds. The goal is to minimize standing permissions. Every app with access is a potential breach point.
Step 5: Verify Recovery Information
Recovery information is how you regain access if you forget your password or lose your 2FA device. Without it, you're locked out permanently. Microsoft doesn't reset accounts without verified recovery options.
In the Security basics section, click "Update info" next to Security info. This shows your recovery email addresses and phone numbers. Verify each one still works. Send a test code to your recovery email. Send a test code to your recovery phone. If you can't receive the code, update the information immediately.
Add a second recovery email if you only have one. Use an email address on a different provider. If your Microsoft account is your primary email, don't use it as its own recovery address. That creates a circular dependency. Use Gmail, Proton, or another service you control.
Remove any recovery information you no longer have access to. Old phone numbers, old email addresses, old addresses, if you can't access it, an attacker might. They can use outdated recovery information to take over your account by claiming they've lost access.
Step 6: Review Recent Activity
The "Recent activity" section shows sign-ins, password changes, and security setting changes. Review the last 30 days. Look for sign-ins from unfamiliar locations, devices you don't recognize, or changes you didn't make.
If you see activity you don't recognize, change your password immediately. Sign out all devices. Review app permissions again. Enable 2FA if it's not already on. Then monitor the activity log daily for a week. If suspicious activity continues, the problem is deeper than a compromised password.
Most activity will look normal. You'll see your own sign-ins from familiar locations. That's good. The goal is to catch anomalies early. A single unfamiliar sign-in might be nothing, a VPN exit node in a different city, a work trip you forgot about. But if you see patterns you can't explain, act.
Step 7: Check Password Health
Microsoft's password monitor checks whether your password has appeared in known data breaches. It's not a substitute for a password manager's breach monitoring, but it's a useful sanity check.
In the Security basics section, click "Change password." Before you change it, Microsoft will tell you if your current password has been compromised. If it has, change it immediately. Use a unique password you've never used anywhere else.
If your password is clean, you don't need to change it unless you have reason to believe it's been compromised. NIST guidance no longer recommends routine password changes. Forced changes encourage weak patterns, Password1, Password2, Password3. Change passwords when you have a specific reason: a breach, suspicious activity, or a password you've reused elsewhere.
That said, if your Microsoft password is weak, short, or something you've used on other sites, change it now. A strong password is long, random, and unique. If you can remember it easily, it's probably not strong enough. Use a password manager to generate and store it.
Step 8: Review Privacy Settings
Privacy settings control what data Microsoft collects and how it's used. This isn't strictly a security audit, but it's worth reviewing while you're here.
Click "Privacy" in the left navigation. Microsoft organizes privacy controls into sections: Activity history, Ads, Diagnostic data, and Location. Each section has toggles and links to more detailed settings.
Turn off anything you don't need. Activity history syncs your browsing and app usage across devices. If you don't use that feature, turn it off. Diagnostic data sends usage information to Microsoft. The basic level is usually fine, but you can turn it off entirely if you prefer. Location tracking enables location-based features in apps. If you don't use those features, turn it off.
Privacy settings don't protect you from attackers, but they limit the data available if your account is compromised. Less data means less to steal.
Step 9: Enable Passwordless Sign-In (Optional)
Passwordless sign-in replaces your password with a passkey, biometric authentication, or a security key. It's more secure than a password because there's nothing to steal. Attackers can't phish what doesn't exist.
In the Advanced security options section, click "Passwordless account." Microsoft will walk you through setup. You'll need the Microsoft Authenticator app on your phone or a hardware security key like a YubiKey.
Once enabled, you'll sign in with a biometric (fingerprint or face) or a PIN instead of typing your password. The password still exists as a fallback, but you won't use it for routine sign-ins.
Microsoft's documentation on passkeys explains the underlying mechanism. Passkeys use public-key cryptography. Your device generates a key pair. The private key never leaves your device. The public key goes to Microsoft. When you sign in, your device proves it has the private key without transmitting it. An attacker who compromises Microsoft's servers gets nothing useful.
Passwordless sign-in is optional, but if you're already using 2FA and a password manager, it's a logical next step. It eliminates the password as an attack surface entirely.
Step 10: Document What You Changed
Write down what you changed during the audit. Which devices did you sign out? Which apps did you remove? What recovery information did you update? Keep this in a note or a password manager entry.
Three months from now, when you run the next audit, you'll want to know what the baseline was. If a device reappears that you signed out last quarter, that's a red flag. If an app you removed is back, someone else has access to your account.
Documentation also helps if something breaks. If you remove an app permission and a service stops working, you'll know what changed. You can re-authorize the app with the minimum permissions it actually needs.
The Cultural Reference That Fits
In Friends, Monica's apartment is the gathering place. Everyone has a key. Everyone comes and goes. It works because Monica knows who has access and trusts them. But when someone loses a key or a sketchy ex-boyfriend still has one, the whole system falls apart.
Your Microsoft account is the same. Every device, every app, every recovery option is a key. The system works when you know who has access and trust them. But old sessions, forgotten apps, and outdated recovery information are keys you've lost track of. An audit is how you take inventory. You're not locking people out. You're making sure the only people with keys are people who should have them.
What Happens After the Audit
Most people find at least one thing worth changing. An old device still signed in. An app they forgot about. A recovery email they no longer use. That's normal. Accounts accumulate access over time. The audit catches it before it becomes a problem.
Set a calendar reminder for three months from now. When it fires, run through this guide again. The second audit will be faster because you'll know what to look for. The third audit will be faster still. Eventually, it becomes a routine maintenance task, like checking your car's oil or replacing your smoke detector batteries.
Between audits, enable breach notifications. Have I Been Pwned monitors data breaches and alerts you if your email appears in one. If you get an alert, run an audit immediately. Don't wait for the quarterly reminder.
If you find evidence of unauthorized access, sign-ins you don't recognize, changes you didn't make, devices you don't own, change your password immediately, sign out all devices, and review app permissions. Then monitor your account daily for a week. If the problem persists, contact Microsoft support. Persistent unauthorized access suggests a deeper compromise, possibly malware on one of your devices.
Why This Matters More Than You Think
Microsoft accounts are high-value targets. They control email, which is the recovery mechanism for most other accounts. Compromise a Microsoft account, and an attacker can reset passwords for banking, social media, and shopping accounts. They can access files in OneDrive, read your email history, and impersonate you to your contacts.
The FTC reports that email account takeovers are a leading cause of identity theft. Attackers use compromised email to file fraudulent tax returns, open credit accounts, and steal benefits. The damage compounds because email is the root of trust for so many other systems.
A quarterly audit catches most attacks early. Attackers rely on victims not noticing. A device signed in from another country. An app authorized without your knowledge. A recovery email changed to one you don't control. These are all visible in the Security dashboard if you look.
The audit also catches your own mistakes. The app you authorized last year and forgot about. The laptop you sold without signing out. The recovery phone number you haven't used in five years. These aren't attacks, but they create the same vulnerabilities. An audit fixes both.
Common Mistakes to Avoid
Don't skip two-factor authentication because it feels inconvenient. The inconvenience is the point. It makes your account harder to access, which is exactly what you want. If 2FA feels too slow, switch to an authenticator app or a security key. Both are faster than SMS once you're used to them.
Don't ignore unfamiliar devices because you assume they're yours. If you don't recognize a device, sign it out. If it was actually yours, you'll know immediately because you'll get signed out. If it wasn't yours, you just stopped an attack.
Don't leave old app permissions active because you might use them again. Revoke anything you haven't used in six months. If you need it later, re-authorizing takes seconds. The risk of leaving it active is higher than the inconvenience of re-authorizing.
Don't use your Microsoft account email as its own recovery address. That's a circular dependency. If you lose access to your Microsoft account, you can't receive the recovery email because it goes to the account you can't access. Use a different email provider for recovery.
Don't skip the audit because everything seems fine. Accounts get compromised without obvious symptoms. Attackers don't announce themselves. They sign in quietly, read your email, and wait for an opportunity. The audit is how you catch them before they act.
Tools That Help
A password manager makes audits easier. NordPass stores your Microsoft password securely and alerts you if it appears in a breach. It also generates strong, unique passwords for every account, which eliminates password reuse as a risk factor.
Have I Been Pwned monitors breaches and alerts you when your email appears in one. Enable notifications so you know immediately when your data is compromised. The service is free and has monitored over 12 billion breached accounts since 2013.
Microsoft Authenticator simplifies two-factor authentication. It generates codes locally, works offline, and supports passwordless sign-in. If you're going to enable 2FA, use an authenticator app instead of SMS. The security improvement is significant.
Final Thoughts
A Microsoft account audit takes 15 minutes and prevents most account compromises. You're not defending against sophisticated attackers. You're defending against opportunistic attackers who rely on you not paying attention. The audit is how you pay attention.
Run the audit quarterly. Enable two-factor authentication. Use a password manager. Remove old devices and apps. Verify recovery information. These are not complicated steps. They're maintenance tasks, like changing your locks when you move or updating your address when you relocate.
Most people will never experience a serious account compromise. But the ones who do often trace it back to something they could have caught in an audit. A device they forgot about. An app they didn't recognize. A recovery email they no longer controlled. The audit catches these things before they become problems.
Set the calendar reminder now. When it fires in three months, come back to this guide and run through the steps again. The second audit will be faster. The habit will stick. And your account will be more secure than 90% of Microsoft users.
Related reading: