How to audit your Apple account in fifteen minutes
Your Apple account holds your photos, messages, payment methods, location history, health data, and access to every app you've purchased. It's the skeleton key to your digital life. Most people configure it once, during iPhone setup, and never look at it again.
That's a problem.
Devices accumulate. Recovery information goes stale. Payment methods expire. Apps request permissions you forgot you granted. The settings you configured three years ago no longer match your current situation, and you won't notice until something breaks or someone breaks in.
This walkthrough takes fifteen minutes. You'll review two-factor authentication status, trusted devices, recovery contacts, payment methods, app permissions, and password strength. At the end, you'll know exactly what has access to your account, how you'd recover it if locked out, and whether anything needs immediate attention.
You don't need technical knowledge. You need your iPhone or iPad, fifteen uninterrupted minutes, and a willingness to remove things that don't belong.
Before you start
You need your current Apple ID password. If you don't remember it, reset it now through Settings → [Your Name] → Password & Security → Change Password. You'll need to authenticate with your device passcode.
You need a stable internet connection. Some steps query Apple's servers in real time. Cellular works, but WiFi is better.
You need to be physically present with at least one trusted device. If you're traveling or away from your usual devices, wait. Some security changes require confirmation on a second device, and you don't want to lock yourself out mid-audit.
If you use Family Sharing, this audit covers only your account. Each family member needs to run their own audit. You can't review their security settings from your device.
Set a timer for fifteen minutes. If you get interrupted, you'll know where to resume.
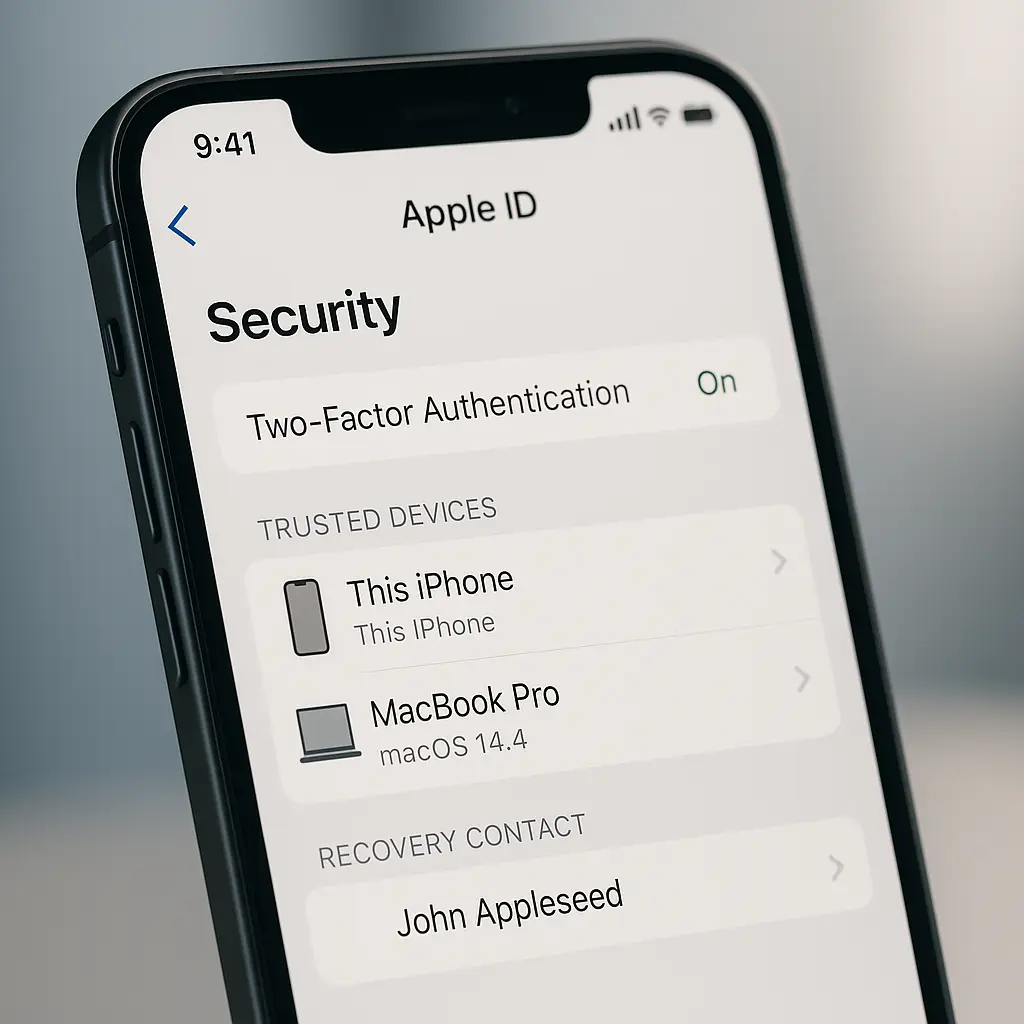
Step 1: Confirm two-factor authentication is on (2 minutes)
Open Settings. Tap your name at the top. Tap Password & Security.
Look for "Two-Factor Authentication" with a status of "On." If it says "Off," tap it and follow the prompts to enable it. Two-factor authentication adds a second verification step beyond your password, which blocks most account takeover attempts even if your password leaks.
If you see "Two-Step Verification" instead of "Two-Factor Authentication," you're using Apple's older system. Tap it and follow the prompts to upgrade to two-factor authentication. The newer system integrates better with Apple's ecosystem and supports more recovery options.
While you're here, check "Trusted Phone Numbers." This is the number Apple texts or calls when you sign in on a new device. If the number listed is wrong, outdated, or belongs to someone else, tap it and update it. If you've changed carriers or phone numbers in the last year, this step catches it.
If two-factor authentication is already on and your phone number is current, you're done with Step 1. Move on.
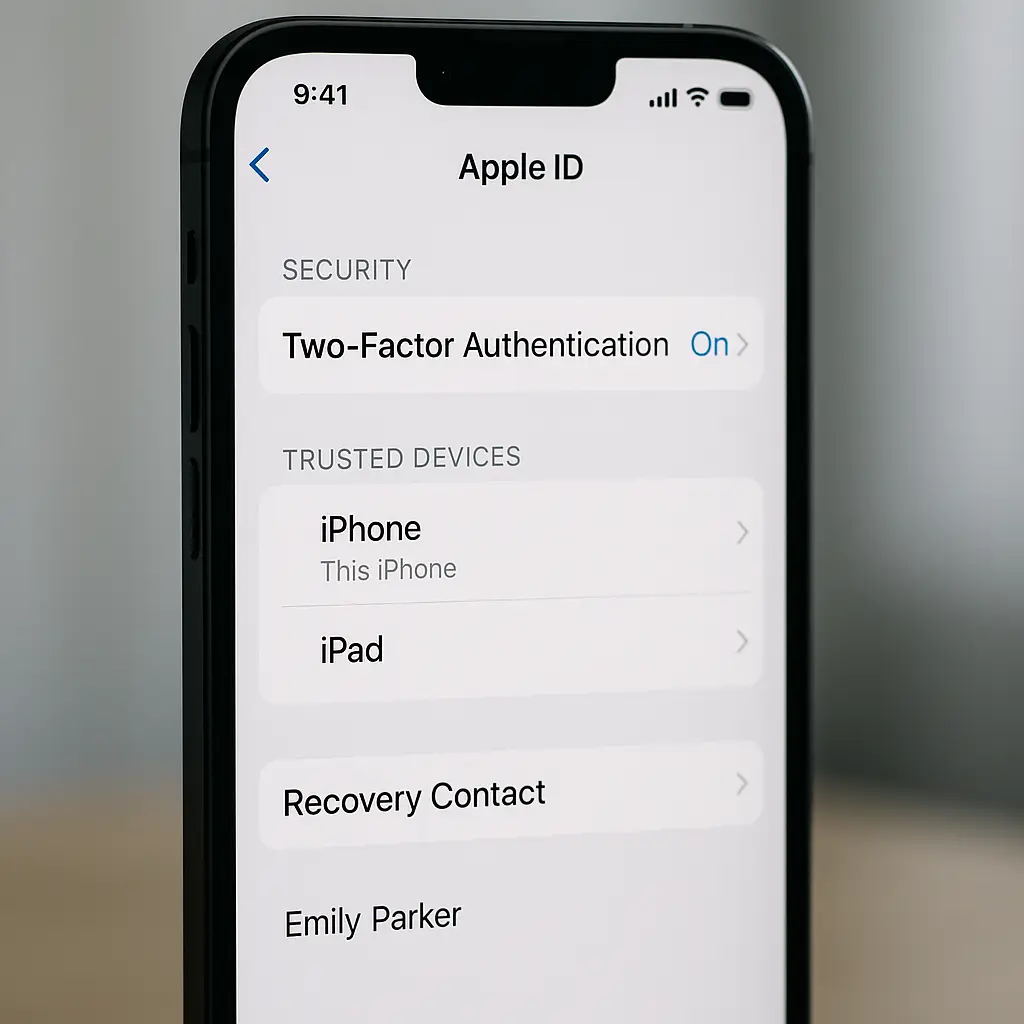
Step 2: Review trusted devices (3 minutes)
Still in Password & Security, scroll down to the list of devices under "Devices Using Your Apple ID." Every device listed here can approve sign-ins and receive two-factor codes.
Tap each device. You'll see the model, the date it was added, and the approximate location of the last sign-in. Ask yourself three questions:
- Do I still own this device?
- Does the model match what I remember?
- Does the location make sense?
If the answer to any question is no, tap "Remove from Account" at the bottom. This immediately revokes that device's ability to approve sign-ins.
Common finds during this step: the iPhone you traded in two years ago, the iPad you gave to a family member, the Apple Watch you sold on eBay, the Mac you use at work but forgot was signed into your personal account. All of them need to go.
If you see a device you don't recognize at all, remove it immediately, then change your password in Step 6. Someone may have gained access.
If you see multiple devices with identical names (three devices all called "iPhone"), rename them. Tap the device, tap the name at the top, and give it something specific: "iPhone 15 Pro," "Work MacBook," "Old iPad Mini." You'll thank yourself during the next audit.
Step 3: Check account recovery contact (2 minutes)
Go back to Password & Security. Tap "Account Recovery."
You should see at least one recovery contact listed. This is a person who can help you regain access to your account if you lose all your devices or forget your password. They don't get access to your data. They receive a code that, combined with information only you know, unlocks your account.
If the section is empty, tap "Add Recovery Contact" and choose someone you trust. This person needs their own Apple device and Apple ID. They'll receive a notification asking them to accept the role.
If you have a recovery contact listed but haven't spoken to them in years, consider replacing them. Tap their name, tap "Remove Recovery Contact," then add someone current. Recovery contacts work only if they're reachable when you need them.
If you're listed as someone else's recovery contact, you'll see that here too. No action required unless you want to decline the role.
Step 4: Verify payment methods (2 minutes)
Go back to the main Apple ID screen (Settings → [Your Name]). Tap "Payment & Shipping."
You'll see every credit card, debit card, and payment method attached to your account. Check the expiration dates. If a card expired, remove it or update it.
If you see a card you don't recognize, remove it immediately. Tap the card, scroll down, tap "Remove This Card." Then change your password in Step 6.
If you see a card you closed or replaced, remove it. Outdated payment methods cause failed purchases and subscription lapses, and they clutter the list during checkout.
Check the billing address. If you've moved since you set up your account, tap "Edit" next to the address and update it. Mismatched billing addresses cause payment failures.
Step 5: Review app permissions (3 minutes)
Go back to the main Apple ID screen. Scroll down to "Apps Using Apple ID."
This section lists every app and service that uses Sign in with Apple or has access to your Apple ID data. Each entry shows what the app can access: your name, email, or both.
Tap each app. You'll see when you first granted access and what information the app receives. If you no longer use the app, tap "Stop Using Apple ID" at the bottom. This revokes the app's access to your account data.
Common finds: apps you installed once and never opened again, games you played two years ago, services you signed up for during a free trial and forgot to cancel. All of them still have access unless you revoke it.
If you see an app you don't recognize, revoke access immediately. Then delete the app from your device if it's still installed.
If an app is using your real email address and you'd prefer it didn't, you can't change it retroactively. Sign in with Apple generates a unique relay address when you first connect the app, but once you've chosen "Share My Email," that decision is permanent for that app. You can only revoke access entirely and start over.
Step 6: Test password strength (2 minutes)
Go back to Password & Security. Tap "Change Password."
You're not changing it yet. You're testing whether you remember it. Enter your current password in the "Current Password" field. If you can't remember it without looking it up, that's useful information. It means you're relying on autofill or a password manager, which is fine, but you should know your Apple ID password by heart. It's the one password you can't retrieve from your password manager if you lose access to your devices.
If your password is shorter than 12 characters, change it now. Use a passphrase: four or five random words strung together, like "correct-horse-battery-staple" or "blue-mountain-coffee-twelve." Passphrases resist cracking better than short passwords with symbols, and they're easier to remember.
If your password is a word followed by a number and a symbol (like "Summer2024!"), change it. That pattern appears in every password cracker's ruleset. Length beats complexity.
If you use the same password for your Apple ID and any other account, change it now. Your Apple ID password should be unique. If another service gets breached and your password leaks, attackers will try it against your Apple account. Credential stuffing works because people reuse passwords.
After you change your password, you'll be signed out of all devices and asked to sign back in with the new password. This is normal. It's also a good test of whether you remember which devices are signed into your account.
Step 7: Check Sign in with Apple privacy settings (1 minute)
Go back to the main Apple ID screen. Tap "Sign-In & Security," then tap "Sign in with Apple."
This section shows a list of all apps and websites using Sign in with Apple. For each one, you can see whether you're sharing your real email address or using Apple's relay service (the "Hide My Email" option).
If you're sharing your real email with apps you don't trust, you can't change it here, but you can revoke access and re-authenticate with the relay option enabled. Tap the app, tap "Stop Using Apple ID," delete the app, reinstall it, and sign in again. This time, choose "Hide My Email."
The relay address looks like random-string@privaterelay.appleid.com. Mail sent to that address forwards to your real inbox, but the sender never sees your real address. If the app starts spamming you, you can disable the relay and the mail stops.
What you've accomplished
You've confirmed that two-factor authentication is on, that every trusted device is actually yours, that your recovery contact is reachable, that your payment methods are current, that no forgotten apps have access to your data, and that your password is strong and unique.
You've also built a mental model of what's connected to your Apple account. The next time you get a sign-in notification or a password reset email, you'll know whether it's legitimate because you'll remember what devices you have and what services you use.
In When Harry Met Sally, Harry tells Sally he's going to be forty. "When?" she asks. "Someday," he says. That's how most people treat account security. Someday they'll review it. Someday they'll clean up old devices. Someday they'll update their recovery contact.
You just did it. It took fifteen minutes. The next audit will take less because you've already removed the clutter.
Set a reminder for the next audit
This isn't a one-time task. Devices accumulate. Apps request access. Payment methods expire. Your life changes, and your account settings need to keep up.
Open Calendar. Create a new event three months from today. Title it "Apple ID Security Review." Set an alert for the day before.
When the reminder fires, run through these seven steps again. It'll take ten minutes instead of fifteen because you've already done the heavy lifting. You're just confirming that nothing has changed.
If you use Family Sharing, send this article to your family members and ask them to run their own audits. You can't do it for them, and their accounts are just as important as yours.
If you manage devices for aging parents or relatives, walk them through this audit in person. Don't do it for them. Show them where each setting lives and why it matters. They need to be able to check it themselves between your visits.
When to audit outside the quarterly schedule
Run an unscheduled audit if:
- You get a sign-in notification for a device or location you don't recognize
- You receive a password reset email you didn't request
- You sell, lose, or give away a device
- You change your phone number
- You end a relationship with someone who had physical access to your devices
- You suspect your account was accessed without permission
Any of those events means your account's security posture has changed. Don't wait for the quarterly reminder. Check now.
What this audit doesn't cover
This walkthrough focuses on Apple ID settings you control directly. It doesn't cover:
- iCloud data encryption settings (that's a separate review)
- App-specific privacy settings (Screen Time, Location Services, and similar)
- Device-level security (passcodes, biometrics, Find My)
- Third-party app security within the Apple ecosystem
Each of those deserves its own focused audit. This one handles the account layer: who has access, how they authenticate, and what happens if you lose access.
If you want to audit your Google account with the same structure, I wrote a parallel walkthrough that covers Google's equivalent settings. The principles are the same. The interface is different.
The one thing that matters most
If you take one action from this entire article, make it Step 1: confirm two-factor authentication is on.
Everything else is cleanup. Two-factor authentication is the difference between an account that's vulnerable to password leaks and an account that isn't. It's the single setting that blocks the most common account takeover attacks.
If two-factor is off, turn it on. If it's on, check that your trusted phone number is current. Those two actions take 90 seconds and prevent most of the scenarios that would otherwise require account recovery.
The rest of the audit makes your account cleaner, more organized, and easier to recover if something goes wrong. But two-factor authentication is the line between safe and not safe. Everything else is optimization.
You've spent fifteen minutes. Your account is tighter than it was when you started. Set the reminder. Run the audit again in three months. That's the system.
Related reading: