Setting up a VPN on your iPhone: The step-by-step process
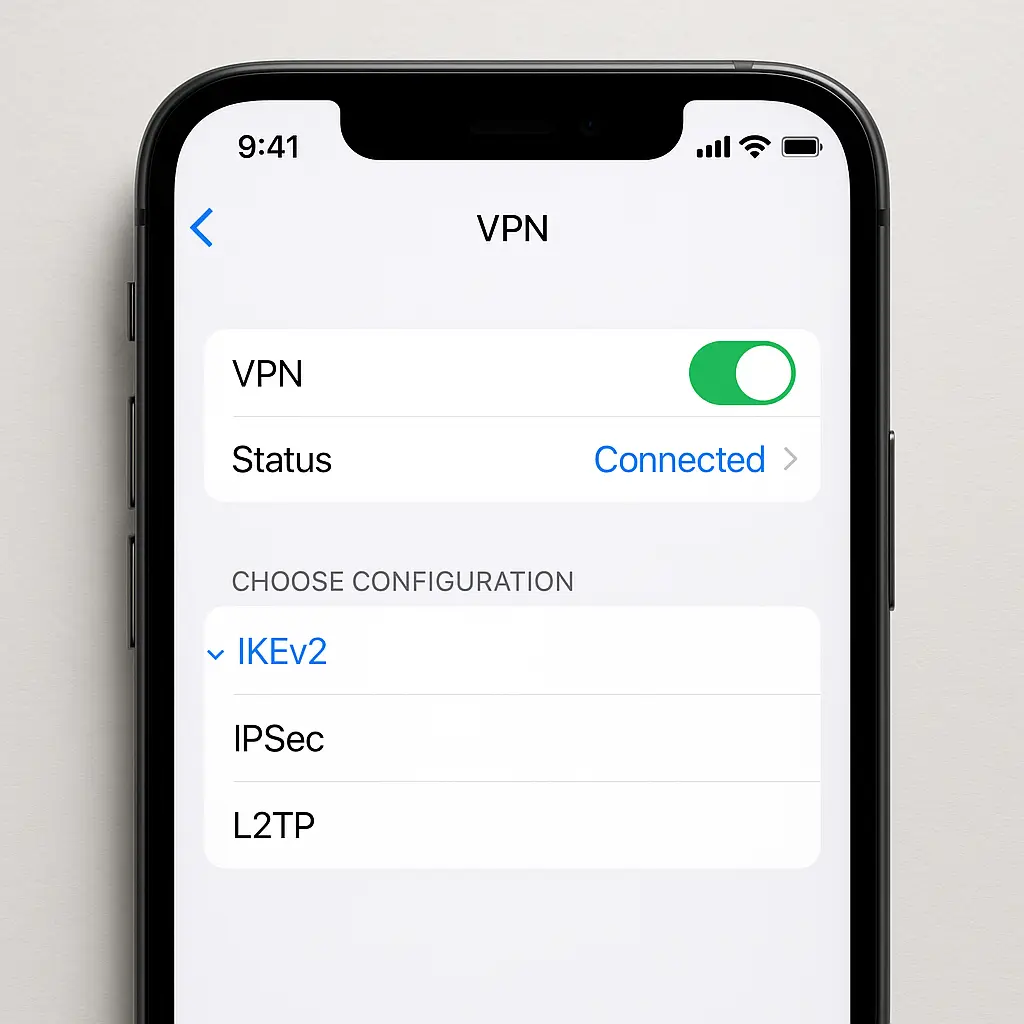
You open your iPhone's settings, scroll to VPN, and see a toggle switch that does nothing because you haven't configured anything yet. The blank screen doesn't explain what a VPN app does, which one to choose, or how to make it work without breaking your internet connection.
Here's the complete setup process for installing and configuring a VPN on your iPhone, from download to connection, with every setting explained.
What you're actually setting up
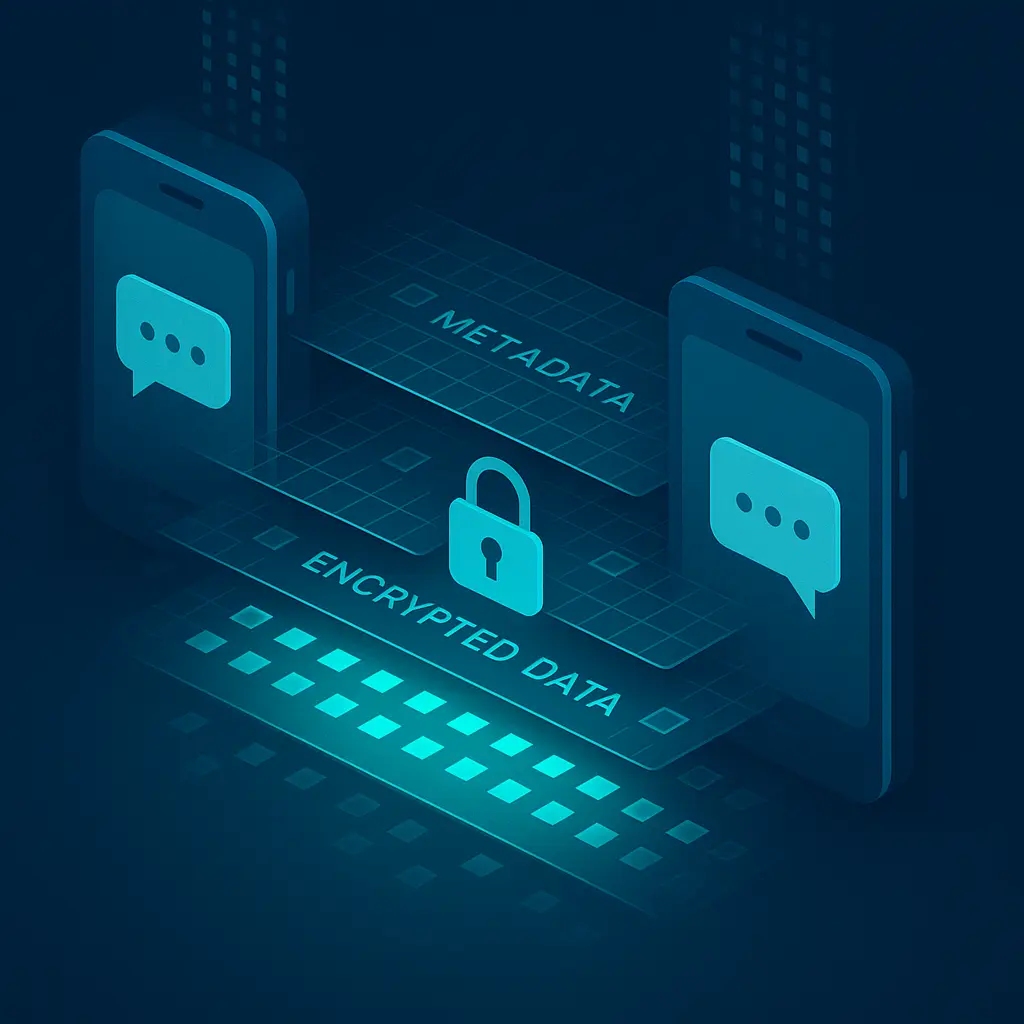
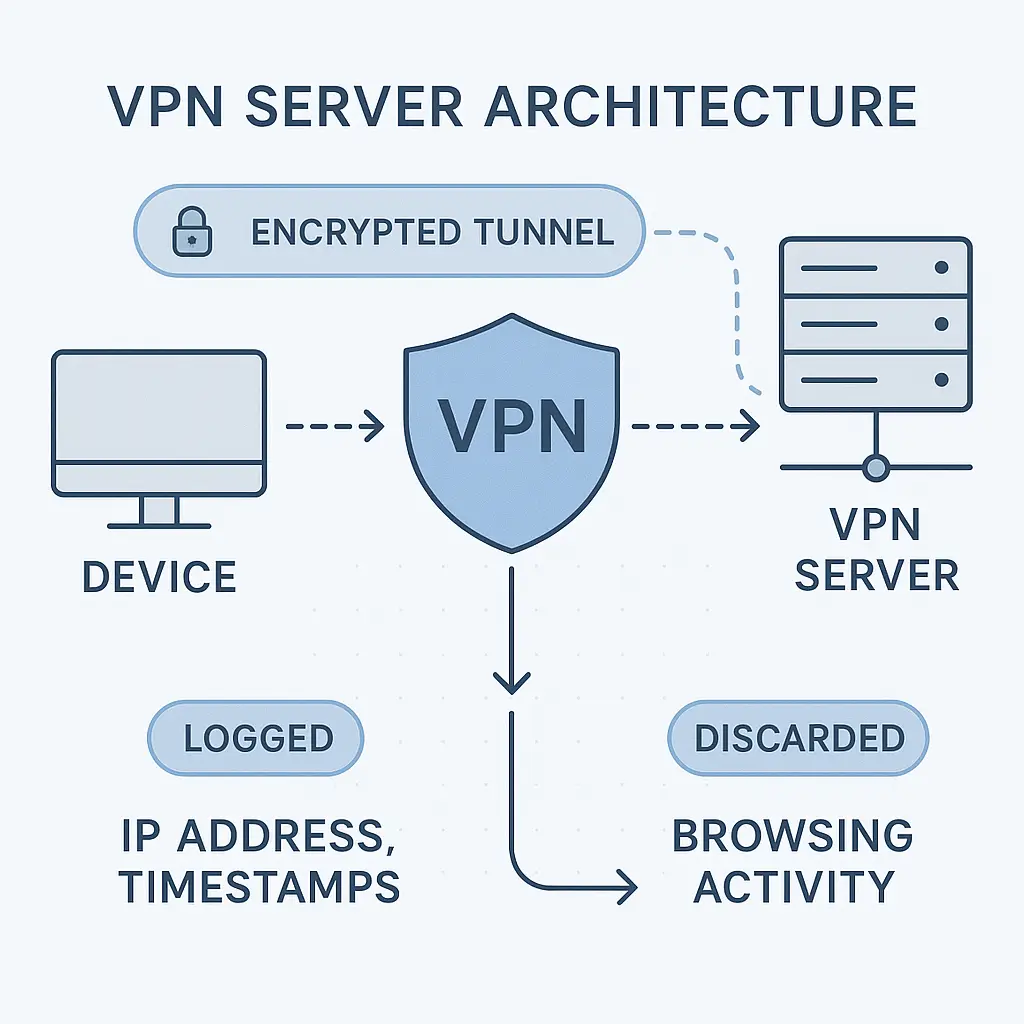
A VPN (Virtual Private Network) routes your iPhone's internet traffic through an encrypted tunnel to a server run by your VPN provider. Your internet service provider sees encrypted data flowing to the VPN server but can't read the contents. Websites you visit see the VPN server's IP address, not yours.
This setup does two things. First, it hides your browsing activity from your ISP and anyone monitoring your network. Second, it masks your location by making it look like your traffic originates from the VPN server's location instead of your actual one.
What it doesn't do: protect you from phishing emails, malicious downloads, or scams that arrive through your encrypted connection. A VPN secures the pipe, not the content flowing through it.
Choosing a VPN provider before you start
You need to pick a provider before you can configure anything. The iPhone doesn't come with a built-in VPN service. Apple offers Private Relay for iCloud+ subscribers, but that's a different architecture with different tradeoffs. We're talking about full VPN services here.
Reputable providers charge around $10 per month or offer annual plans that work out cheaper. Free VPNs exist, but the business model is suspect. If you're not paying with money, you're paying with data. Free providers often log your activity, inject ads, or sell your browsing history to cover their costs. The privacy you're trying to protect becomes the product they're selling.
Look for providers with clear no-log policies, independent security audits, and transparent ownership. Mozilla VPN, for instance, publishes audit results and runs on infrastructure from Mullvad, a provider with a strong privacy track record. NordVPN has been audited multiple times and operates under Panama jurisdiction, which has no mandatory data retention laws.
The provider's server network matters if you need specific locations. Streaming services block VPN traffic inconsistently, so a provider with many servers in your target country gives you fallback options when one IP gets blocked.
Downloading and installing the app
Once you've chosen a provider, open the App Store on your iPhone. Search for the provider's official app. Verify the developer name matches the company. Scam apps impersonate legitimate VPN services, so double-check before you download.
Tap Get, authenticate with Face ID or your passcode, and wait for the download to complete. The app installs like any other iPhone app. No special permissions required at this stage.
Open the app. You'll see a login screen or a prompt to create an account. If you already purchased a subscription through the provider's website, log in with those credentials. If you're buying through the app, the purchase goes through Apple's App Store billing, which means Apple takes a cut and the provider may charge slightly more to cover that fee.
After login, the app requests permission to add VPN configurations to your iPhone. This is the moment where iOS asks you to approve the VPN profile installation. Tap Allow. Enter your iPhone passcode when prompted. This step is mandatory. Without this permission, the app can't route your traffic through the VPN tunnel.
The VPN configuration profile explained
When you approve the VPN configuration, iOS installs a profile that defines how your iPhone connects to the VPN server. You can see this profile in Settings > General > VPN & Device Management. The profile contains server addresses, authentication methods, and encryption protocols.
Most VPN apps manage this profile automatically. You don't edit it manually unless you're using a provider that requires manual configuration (common with enterprise VPNs or self-hosted setups, rare with consumer services).
The profile tells iOS to route all internet traffic through the VPN when the connection is active. Some apps let you configure split tunneling, where specific apps bypass the VPN and connect directly. This feature isn't universally available on iOS due to Apple's restrictions on network-level control.
Connecting for the first time
Back in the VPN app, you'll see a Connect button, a server location selector, and possibly protocol options. Tap the server location to choose where your traffic exits. If you're using the VPN to access content restricted to a specific country, pick a server in that country. If you're just encrypting your traffic on public WiFi, pick a server geographically close to you for better speeds.
Tap Connect. The app initiates the VPN tunnel. You'll see a VPN icon appear in the status bar at the top of your screen. On newer iPhones without a notch, the icon appears in the upper-left corner. This icon confirms the VPN is active.
Your first connection might take a few seconds longer than subsequent connections as the app negotiates encryption keys and establishes the tunnel. Once connected, all your internet traffic routes through the VPN server. Open Safari and search "what is my IP" to verify. The result should show the VPN server's IP address, not your actual one.
Auto-connect and on-demand settings
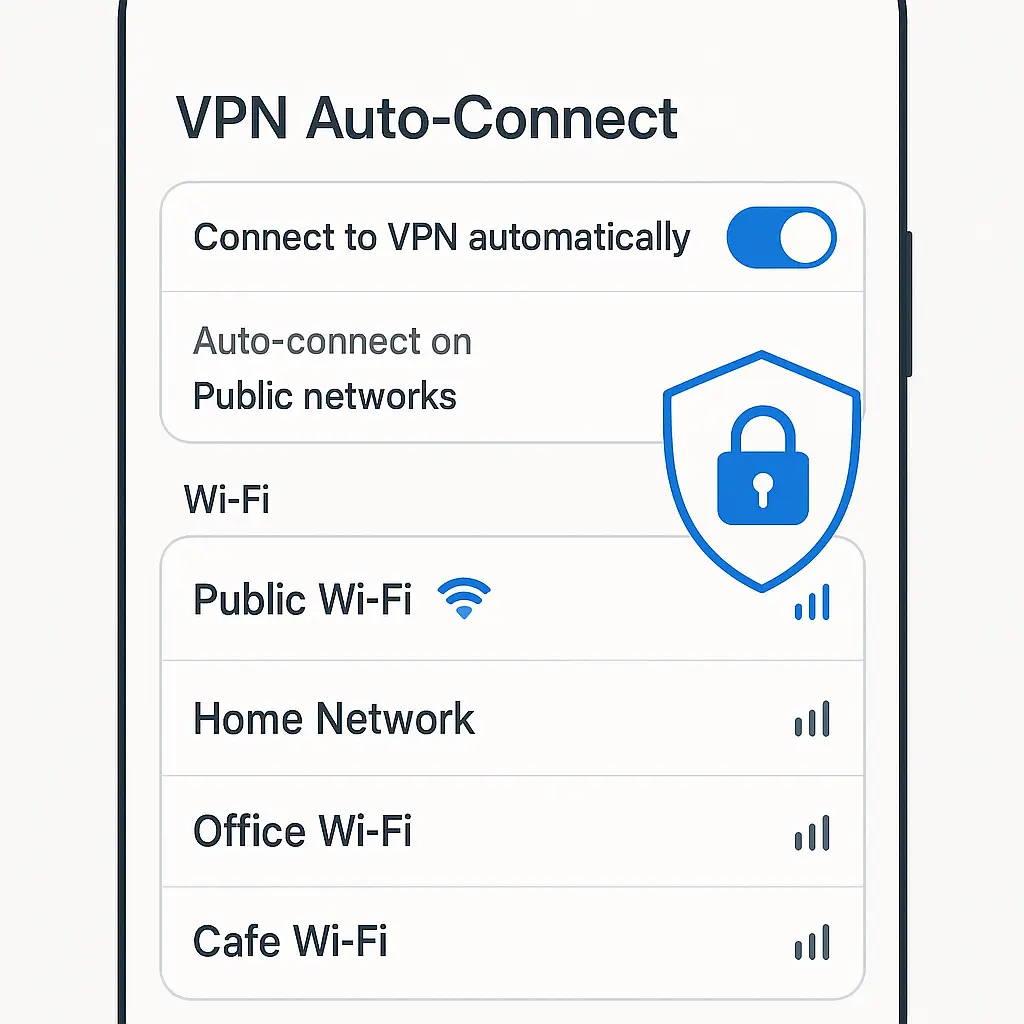
Most VPN apps offer auto-connect features. These settings determine when the VPN activates automatically without you tapping Connect every time.
Common options:
- Auto-connect on untrusted WiFi: The VPN turns on when you join a network that isn't marked as trusted. You define trusted networks (your home WiFi, your office) in the app settings. Everything else triggers auto-connect.
- Auto-connect on all WiFi: The VPN activates whenever you join any WiFi network, trusted or not.
- Auto-connect on cellular: The VPN turns on when you're using mobile data.
- Always on: The VPN stays active at all times, regardless of network type.
I use auto-connect on untrusted WiFi. My home network doesn't need VPN protection because I control the router and trust the devices on it. Public WiFi at coffee shops and airports triggers auto-connect. This setup balances security with battery life and connection speed.
Always-on VPN drains battery faster because your iPhone maintains the encrypted tunnel constantly. It also adds latency to every connection, which you'll notice on video calls or when streaming. Some people prefer this for maximum privacy. I think it's overkill for most situations, but your threat model might differ.
Protocol selection and what it means
VPN apps offer protocol options buried in settings. Protocols define how the VPN encrypts and routes your traffic. Common options on iOS:
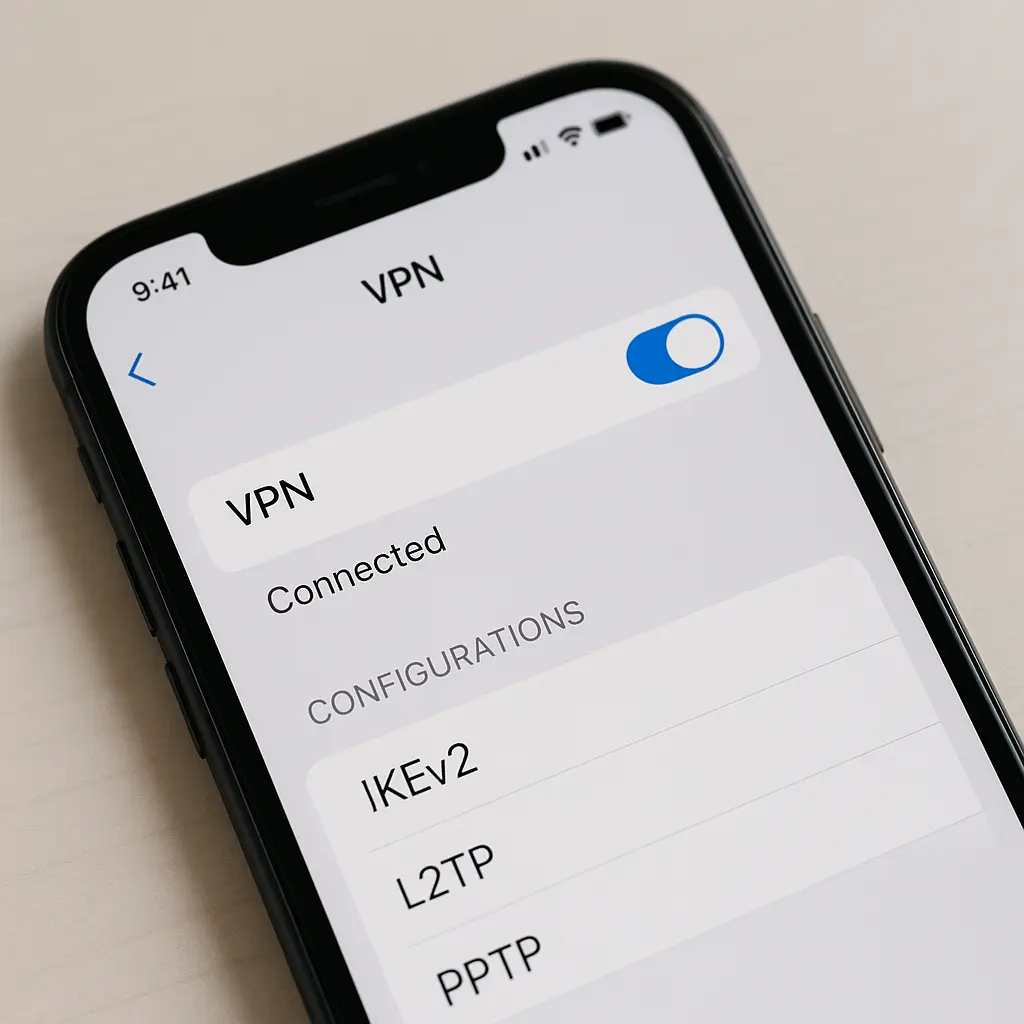
- IKEv2: Fast, stable, built into iOS. Reconnects quickly when you switch between WiFi and cellular. Good default choice.
- OpenVPN: Older, widely supported, highly configurable. Slightly slower than IKEv2 but works in restrictive network environments where IKEv2 gets blocked.
- WireGuard: Newer, faster, simpler codebase. Growing adoption among providers. Performs well on mobile devices with lower battery impact than OpenVPN.
Most apps default to IKEv2 or WireGuard on iOS. You rarely need to change this unless you're troubleshooting connection issues or your network blocks certain protocols. CISA guidance on network security recommends using modern protocols with strong encryption, which all three options provide.
If the VPN won't connect on a specific network (hotel WiFi, corporate network, airport), try switching protocols. Some networks block VPN traffic by detecting protocol signatures. Changing protocols can bypass these blocks.
The kill switch setting
A kill switch stops all internet traffic if the VPN connection drops unexpectedly. Without a kill switch, your iPhone falls back to an unencrypted connection when the VPN disconnects, potentially leaking your real IP address and browsing activity.
Not all VPN apps on iOS offer a true kill switch due to Apple's restrictions on network control. Some apps call their feature a kill switch but only block traffic within the app itself, not system-wide. Check your provider's documentation to understand what their implementation actually does.
If your app offers a system-level kill switch, enable it. The tradeoff is that you lose all internet access when the VPN disconnects, which can be disruptive if you're in the middle of something. You'll need to manually reconnect the VPN or disable the kill switch to restore connectivity.
I keep the kill switch on. The brief interruption when switching networks is worth the assurance that my traffic doesn't leak unencrypted.
Managing the VPN in iOS settings
iOS has a built-in VPN toggle in Settings > VPN. When a VPN app is installed, you'll see it listed here. You can turn the VPN on or off from this screen without opening the app.
This toggle is useful when you want to quickly disable the VPN without navigating through the app's interface. Some apps don't show a persistent notification when connected, so checking this screen confirms whether the VPN is active.
You can also configure VPN settings manually in this section if you're using a provider that doesn't offer an iOS app. Manual configuration requires server addresses, authentication credentials, and protocol details from your provider. Consumer VPN services rarely require this. Enterprise VPNs and self-hosted setups do.
If you see multiple VPN configurations listed (maybe you tried a few providers before settling on one), you can delete old profiles by tapping the info icon next to each one and selecting Delete VPN.
What happens when you switch networks
When you move from WiFi to cellular or between WiFi networks, your iPhone's VPN connection drops momentarily and reconnects. IKEv2 and WireGuard handle this transition quickly, usually within a second or two. OpenVPN takes longer to re-establish the tunnel.
During the reconnection, your traffic may route through the unencrypted connection unless your kill switch is active. This gap is brief but real. Apps that stream data continuously (music, podcasts, video calls) might experience a short interruption.
Auto-connect settings determine whether the VPN reconnects automatically or waits for you to manually enable it. If you've configured the VPN to auto-connect on untrusted WiFi but not on cellular, switching from a coffee shop to mobile data will disconnect the VPN and leave it off until you join another untrusted network.
Battery impact and connection speed
Running a VPN drains your battery faster than connecting directly. The encryption and decryption process uses CPU cycles, and maintaining the tunnel requires constant network activity. The impact varies by protocol and provider, but you'll notice it on long days away from a charger.
In my experience, always-on VPN reduces battery life by around 10-20 percent compared to using the VPN only on public WiFi. Your mileage depends on how much you use your phone and how efficiently your provider's app is coded.
Connection speed slows down because your traffic takes a longer path (your phone → VPN server → destination) and because encryption adds overhead. Reputable providers minimize this slowdown, but it's always present. You might not notice it when browsing text-heavy websites, but you will notice it on video calls or when downloading large files.
If speed matters more than privacy in a specific moment (you're on your home WiFi uploading photos to iCloud), disconnect the VPN temporarily. Reconnect when you're back on untrusted networks.
Verifying the VPN is working
After connecting, verify the VPN is actually routing your traffic. Open Safari and search "what is my IP". The result should show the VPN server's IP address and location, not your actual IP and location.
If the result shows your real IP, the VPN isn't working. Disconnect and reconnect. Check that you approved the VPN configuration profile in iOS settings. Make sure the VPN icon appears in your status bar. If problems persist, contact your provider's support.
Some websites detect VPN traffic and block access. Streaming services are notorious for this. If you're using the VPN to access geo-restricted content and the site blocks you, try a different server location within the same country. Providers with large server networks give you more options when one IP gets blacklisted.
Disconnecting and reconnecting
To disconnect, open the VPN app and tap Disconnect. The VPN icon disappears from your status bar. Your traffic reverts to an unencrypted connection through your ISP.
You can also toggle the VPN off in Settings > VPN without opening the app. This method is faster when you need to quickly disable the VPN to troubleshoot a connection issue or access a site that blocks VPN traffic.
Reconnecting works the same way: tap Connect in the app or toggle the VPN on in iOS settings. The app remembers your last server selection and protocol settings, so you don't reconfigure anything.
When to use the VPN and when to skip it
I use the VPN on public WiFi, at hotels, and when traveling internationally. I skip it at home because my network is secure and I trust the devices connected to it. I skip it on cellular data most of the time because mobile networks already encrypt traffic between your phone and the cell tower.
You might have different priorities. If your threat model includes hiding your browsing activity from your ISP, leave the VPN on all the time. If you're trying to access content restricted to another country, connect to a server in that country. If you're just protecting yourself on sketchy coffee shop WiFi, auto-connect on untrusted networks is enough.
The VPN doesn't protect you from every threat. It hides your traffic from network monitoring and masks your location, but it doesn't stop phishing emails, block malicious downloads, or prevent you from entering your password on a fake website. Those threats require different defenses.
Troubleshooting common issues
VPN won't connect: Check your internet connection first. If you have no connectivity at all, the VPN can't establish a tunnel. Try switching between WiFi and cellular to see if one works. If the problem persists, try a different server location or protocol.
Connection drops frequently: Some networks interfere with VPN traffic. Try switching protocols (IKEv2 to WireGuard, for example). If you're on a corporate or school network, VPN traffic might be blocked entirely. Contact the network administrator or use cellular data instead.
Websites block VPN access: Streaming services, banking sites, and some retailers block traffic from known VPN IP addresses. Try a different server within the same country. If that doesn't work, disconnect the VPN temporarily to access the site, then reconnect when you're done.
Slow speeds: VPNs always add some overhead, but if speeds are unusably slow, try a server closer to your physical location. Check if your provider offers a speed test feature to find the fastest server. Make sure you're using a modern protocol like WireGuard or IKEv2, not OpenVPN.
Battery drains too fast: Disable always-on VPN and use auto-connect only on untrusted WiFi. Check if your app has a battery-saving mode. Some providers offer lighter protocols or connection methods that reduce power consumption.
The cultural reference that fits
In The Fellowship of the Ring, the hobbits leave the Shire wearing cloaks that Galadriel weaves in Lothlórien. The cloaks don't make them invisible, but they blend into their surroundings, making it harder for enemies to spot them from a distance. The hobbits still need to move carefully, avoid open ground, and stay alert. The cloak is a layer of protection, not a guarantee of safety.
A VPN works the same way. It hides your traffic from casual observation and makes it harder for network monitors to see what you're doing. But it doesn't make you invisible, and it doesn't protect you from threats that arrive through your encrypted connection. You still need to recognize phishing emails, avoid sketchy downloads, and use strong passwords. The VPN is one layer in a broader security setup, not a magic shield.
What the setup actually accomplishes
You've installed a VPN app, configured auto-connect rules, chosen a protocol, and verified the connection works. Your iPhone now routes traffic through an encrypted tunnel when you're on untrusted networks, hiding your activity from ISPs and network monitors.
This setup protects you on public WiFi, masks your location from websites, and prevents your ISP from logging your browsing history. It doesn't stop phishing, malware, or scams. It doesn't make you anonymous (your VPN provider can still see your traffic unless they have a verified no-log policy). It's a specific tool for specific threats, not a comprehensive privacy solution.
The VPN is now part of your phone's security setup, running quietly in the background when you need it, staying out of the way when you don't.