BitLocker and FileVault: Turn On Disk Encryption in 15 Minutes
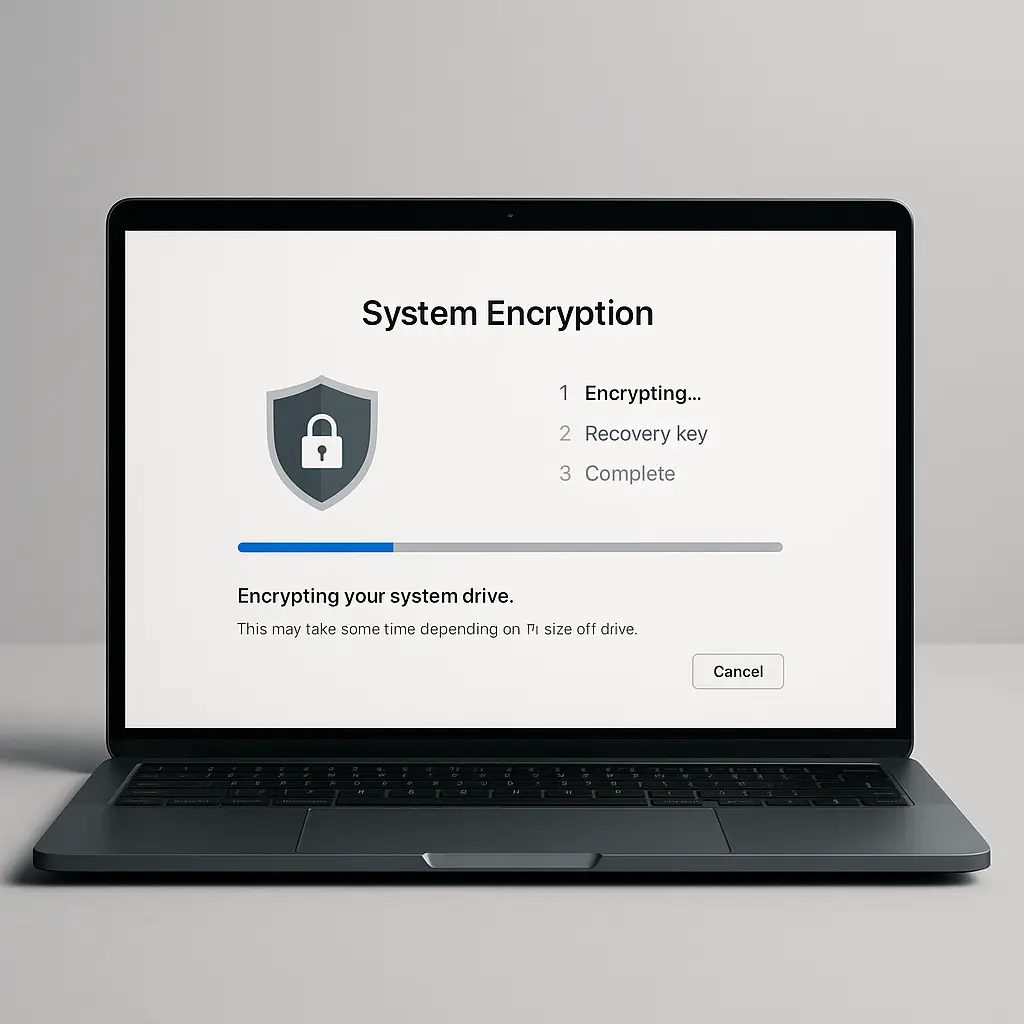
Your laptop holds bank statements, tax returns, work files, saved passwords, and years of private conversations. If someone steals it from your car or grabs it from your bag, they own all of that, unless you've turned on disk encryption.
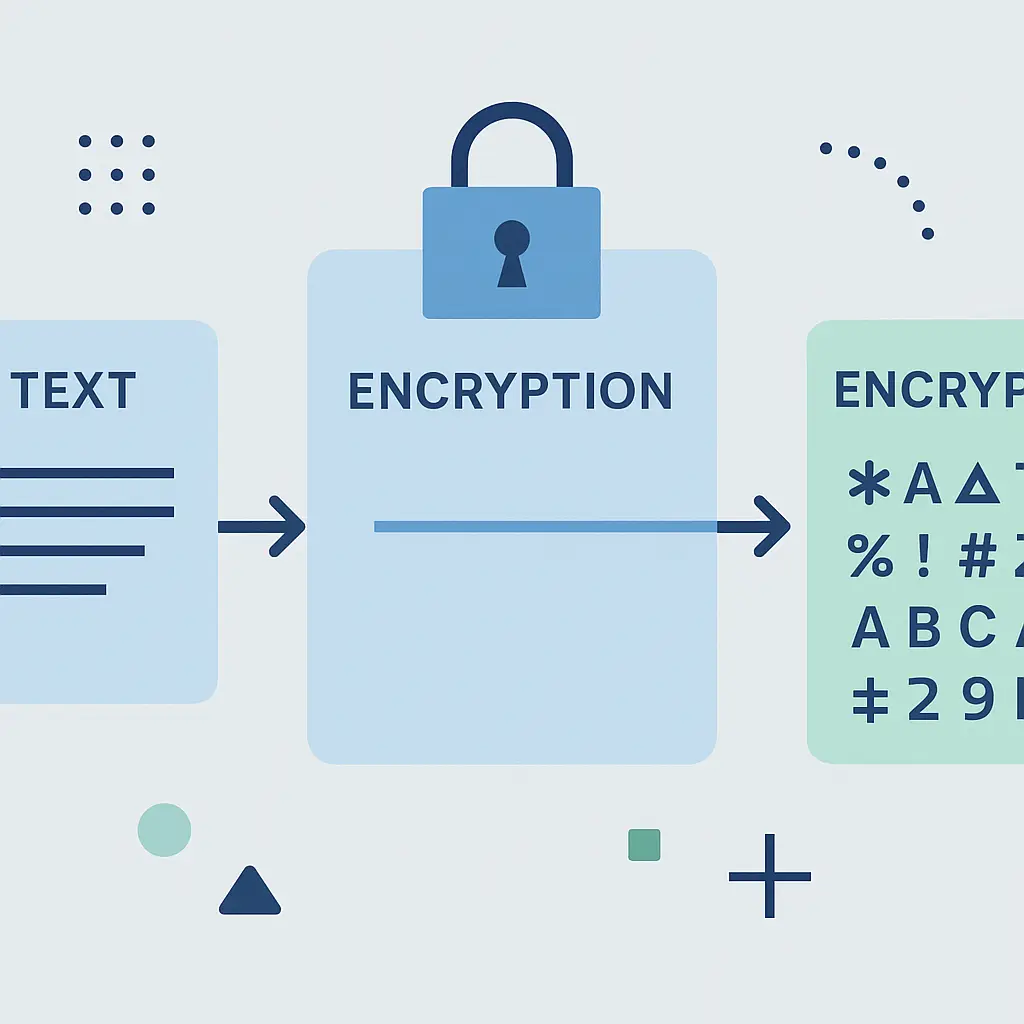
Disk encryption scrambles your entire hard drive so only someone with your password can read it. Pull the drive, plug it into another machine, try to boot from a USB stick, doesn't matter. Without the key, the data is mathematically unreadable. It's the single most effective protection against physical theft, and it's built into Windows and macOS. You just have to turn it on.
This is the practical guide. Here's how to enable BitLocker on Windows, FileVault on Mac, what each step actually does, and what happens after you click the button.
What Disk Encryption Protects (and What It Doesn't)
Disk encryption protects your data when your device is off or locked. Someone steals your laptop from a coffee shop, pulls the hard drive, and tries to read it on their own machine. They get nothing. The encryption algorithm, AES-256 in both BitLocker and FileVault, turns every file into random noise without the decryption key.
What it doesn't protect: anything that happens while you're logged in. Malware runs. Phishing works. An attacker with access to your unlocked session can read, copy, or delete anything you can. Encryption is a barrier against physical access, not a shield against software threats or social engineering.
The threat model is narrow but real. Laptops get stolen. Hard drives get pulled from discarded machines. Encryption makes that theft a hardware loss, not a data breach.
BitLocker on Windows: The Step-by-Step Setup
BitLocker is Microsoft's full-disk encryption tool. It's included in Windows 10 Pro, Windows 11 Pro, and Enterprise editions. Home editions don't include BitLocker, but they do include a feature called Device Encryption on some newer hardware, more on that in a moment.
Check If BitLocker Is Already On
Open Settings → Privacy & security → Device encryption. If you see "Device encryption is on," you're done. Many new Windows laptops enable encryption automatically when you sign in with a Microsoft account.
If Device encryption isn't listed, or if you're running Windows Pro, you'll enable BitLocker manually.
Turn On BitLocker (Windows Pro and Enterprise)
- Open Control Panel (not Settings, this is one of the few things still buried in the old interface).
- Go to System and Security → BitLocker Drive Encryption.
- Find your system drive (usually C:) and click "Turn on BitLocker."
- Windows will check if your computer has a Trusted Platform Module (TPM), a hardware chip that stores encryption keys. Nearly every laptop made since around 2016 has one. If yours doesn't, BitLocker will ask you to use a USB key or password instead.
- Choose how to unlock your drive at startup. The default is TPM-only, which means your computer unlocks automatically when you boot. This is convenient but offers less protection if someone steals your device while it's asleep. For stronger security, choose "Require a PIN at startup" and set a numeric code you'll enter every time the machine boots.
- Save your recovery key. BitLocker will generate a 48-digit recovery key and offer several storage options: save to your Microsoft account, save to a file, or print it. Do not skip this step. If you lose access to your password or TPM, this key is your only way back in. Save it somewhere separate from the laptop, a password manager, a printed copy in a safe, or a USB drive stored off-site.
- Choose whether to encrypt the entire drive or just the used space. Encrypting used space is faster and sufficient for most users. Full-disk encryption is slower but ensures even deleted files are encrypted.
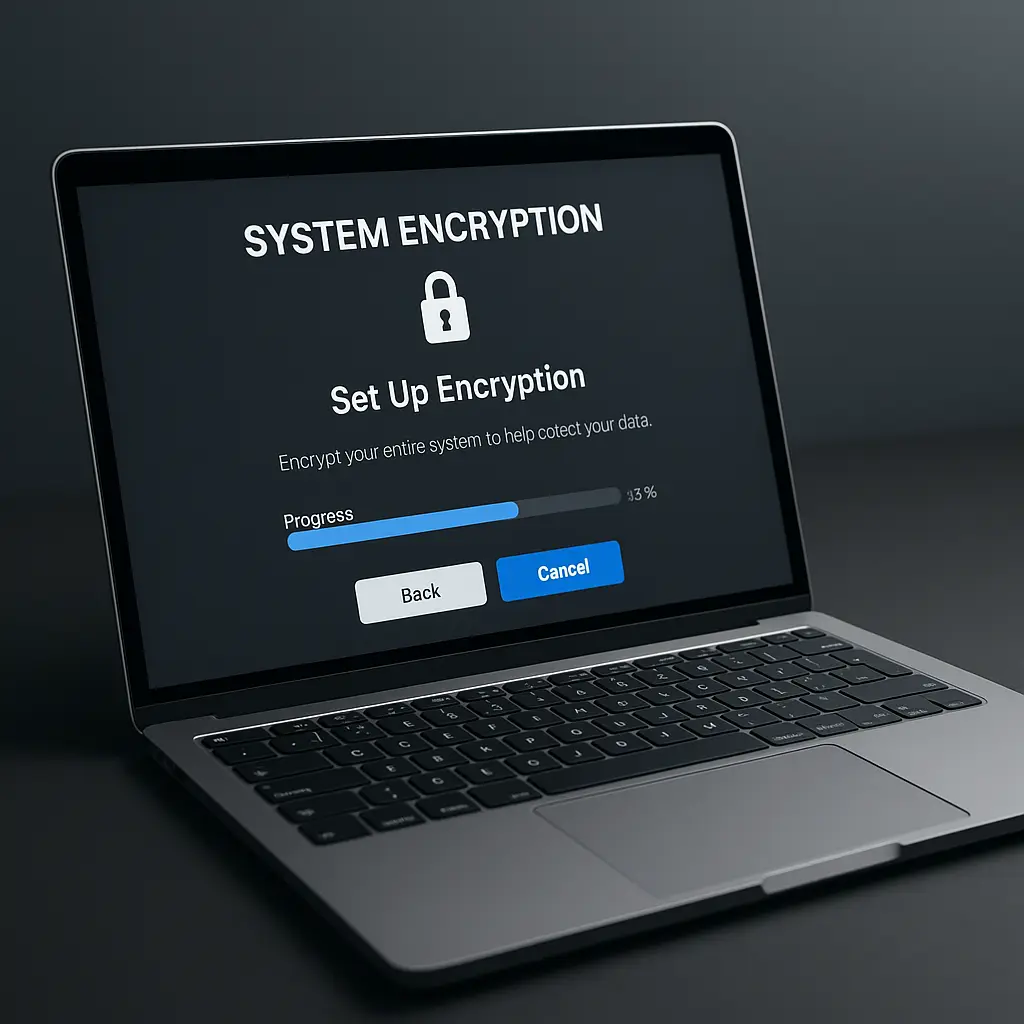
- Click "Start encrypting." The process runs in the background. You can keep using your computer, but expect it to take anywhere from 20 minutes to a few hours depending on drive size and how much data you have.
Once encryption finishes, your drive is protected. The next time you boot, you'll enter your PIN (if you set one), and Windows will decrypt the drive automatically as you use it.
Device Encryption on Windows Home
Windows Home doesn't include the full BitLocker interface, but some devices running Home editions support a simplified version called Device Encryption. It works the same way under the hood, AES-256 encryption with TPM, but with fewer configuration options.
To check: Settings → Privacy & security → Device encryption. If the option exists, turn it on. Your recovery key will save automatically to your Microsoft account. Log in to account.microsoft.com/devices to view and download it.
If Device Encryption isn't available, your hardware likely doesn't meet the requirements (TPM 2.0, UEFI firmware, and Secure Boot). Older machines won't support it.
FileVault on Mac: The Step-by-Step Setup
FileVault is Apple's full-disk encryption tool. It's included in every version of macOS and works on any Mac with a T2 chip (2018 or later) or Apple Silicon (M1, M2, M3). Older Macs support FileVault too, but the process is slightly different.
Check If FileVault Is Already On
Open System Settings → Privacy & Security → FileVault. If it says "FileVault is turned on," you're done. Many Macs enable FileVault during initial setup if you choose the option.
If it's off, here's how to enable it.
Turn On FileVault
- Open System Settings → Privacy & Security → FileVault.
- Click "Turn On FileVault."
- macOS will ask how you want to unlock your disk if you forget your password. You have two options:
- Use your iCloud account to unlock your disk. This stores a recovery key with Apple, encrypted and tied to your iCloud account. If you forget your login password, you can reset it through iCloud and regain access.
- Create a recovery key and do not use my iCloud account. This generates a 24-character alphanumeric key that you must store yourself. Apple won't have a copy. If you lose this key and your password, your data is gone.
The iCloud option is more convenient. The recovery key option is more private. Choose based on your threat model. If you're protecting against casual theft, iCloud is fine. If you're protecting against state-level surveillance or don't trust Apple, use the recovery key and store it somewhere secure.
-
Save your recovery key. If you chose the manual key option, macOS will display a 24-character code. Write it down. Store it in a password manager, print it and put it in a safe, or save it to a USB drive kept off-site. Do not store it on the Mac you're encrypting.
-
Click "Continue." macOS will start encrypting your drive in the background. You can keep using your Mac, but the process will take a few hours depending on drive size. You'll see a progress indicator in the FileVault settings pane.
-
Restart when prompted. FileVault requires a restart to finalize encryption. After the restart, your Mac is fully encrypted.
From this point forward, your Mac will decrypt the drive automatically when you log in. The encryption is invisible during normal use.
FileVault on Older Macs
Macs without a T2 chip or Apple Silicon (pre-2018 Intel models) support FileVault, but the setup process is slightly different. The steps above still apply, but encryption will take longer, and performance impact may be more noticeable on very old hardware. Macs made after around 2010 handle FileVault fine. Anything older might struggle.
What Happens After You Enable Encryption
Once encryption is on, your computer works the same way it always did. Files open, apps run, everything feels identical. The encryption and decryption happen automatically in the background, handled by dedicated hardware on modern machines.
The difference shows up in three scenarios:
Scenario 1: Someone steals your laptop while it's off. They power it on. They see a login screen. They don't know your password. They shut it down, pull the hard drive, and plug it into another computer. The drive is unreadable. Every file is encrypted with a key derived from your password. Without that key, the data is noise.
Scenario 2: Someone steals your laptop while it's asleep. This is trickier. Sleep mode keeps the encryption key in memory so you can resume work instantly. Some attacks can extract that key from RAM if the device is still powered. This is why full shutdown is more secure than sleep when traveling or leaving your laptop unattended for long periods.
Scenario 3: You forget your password. If you lose your password and your recovery key, your data is permanently unrecoverable. There is no backdoor. There is no reset process that bypasses encryption. This is by design. The same mechanism that protects you from thieves also locks you out if you lose your credentials.
Recovery Keys: Where to Store Them and Why It Matters
Your recovery key is the master override for disk encryption. If you forget your password, lose access to your account, or your TPM fails, the recovery key is your only way back in.
Do not store the recovery key on the encrypted device. That defeats the purpose. If someone steals your laptop and finds the recovery key in a text file on the desktop, encryption is useless.
Good storage options:
- A password manager (if you can access it from another device)
- A printed copy in a safe or lockbox
- A USB drive stored off-site (a drawer at work, a trusted family member's house)
- Your Microsoft or iCloud account (if you trust the cloud provider and understand the tradeoff)
Bad storage options:
- The Notes app on the encrypted laptop
- A file on the encrypted drive
- An email to yourself (unless that email account is itself protected by strong security)
- Nowhere (hoping you'll remember your password forever)
Write down the recovery key the moment you enable encryption. Don't wait. Don't assume you'll do it later. Do it now.
Performance Impact: What Actually Changes
Modern computers handle full-disk encryption with negligible performance impact. Both BitLocker and FileVault use hardware-accelerated AES encryption, which means a dedicated chip on your motherboard handles the math. The CPU barely notices.
You won't see slower boot times, app launches, or file transfers on any machine made in the last decade. Benchmarks show single-digit percentage differences in disk performance, and those differences don't translate to noticeable slowdowns in real-world use.
Very old machines, we're talking pre-2010, might struggle with encryption because they lack hardware support and have to handle it in software. But if you're running a machine that old, disk encryption performance is probably not your biggest problem.
What Disk Encryption Doesn't Protect
Encryption protects data at rest. It does not protect data in use.
If you're logged in and someone installs malware, that malware can read your files. If you're logged in and someone tricks you into entering your password on a fake site, encryption doesn't help. If you're logged in and someone accesses your laptop remotely through a compromised account, they see everything you see.
Encryption also doesn't protect against attacks that target the bootloader, firmware, or hardware itself. Sophisticated attackers can install keyloggers at the BIOS level or tamper with the boot process to capture your password before encryption kicks in. These attacks are rare and require physical access, but they exist.
The threat model for disk encryption is narrow: physical theft of a powered-off device. It's a critical layer, but it's not a complete security solution.
Work Laptops and Employer-Managed Encryption
If your employer manages your laptop, they almost certainly have the recovery key for BitLocker or FileVault. Enterprise device management tools store recovery keys centrally so IT can unlock devices if employees forget passwords or leave the company.
This means your employer can decrypt your work laptop. They can access your files, read your browsing history, and recover data even if you delete it. This isn't a flaw in encryption, it's how enterprise encryption is designed to work.
If you use your work laptop for personal browsing, email, or file storage, assume your employer can see it. Encryption protects against external theft, not internal access by the organization that owns the device.
When to Enable Encryption (and When It's Already On)
Enable disk encryption if:
- You travel with your laptop
- You work from coffee shops, airports, or other public spaces
- Your laptop contains financial records, tax documents, or work files
- You've ever left your laptop in a car, hotel room, or unlocked office
Don't bother if:
- Your device never leaves your home
- You're running a desktop that sits in one place and never moves
- You're using a Chromebook (they encrypt by default and don't offer user control)
Check if encryption is already on before you start. Many new devices enable it automatically during setup. Windows 11 laptops with Device Encryption, Macs set up with iCloud, and most phones encrypt storage by default when you create a lock screen password.
Encrypting External Drives
BitLocker and FileVault both support encrypting external drives, USB sticks, external hard drives, SD cards.
On Windows: Right-click the drive in File Explorer → Turn on BitLocker. Follow the same steps as encrypting your system drive. You'll set a password and save a recovery key.
On Mac: Right-click the drive in Finder → Encrypt. macOS will prompt you to create a password and optionally save it to your keychain.
Encrypted external drives are useful if you carry sensitive files on a USB stick or back up to an external hard drive. The drive is useless to anyone who doesn't know the password.
What to Do Before You Enable Encryption
Back up your data. Encryption is generally safe, but if something goes wrong during the initial encryption process, a power failure, a hardware glitch, a corrupted file system, you could lose access to your drive. Have a recent backup on a separate device before you start.
Save your recovery key immediately after enabling encryption. Don't skip this step. Don't assume you'll do it later. Do it now, while the key is on your screen.
Test your recovery key. On Windows, you can verify your BitLocker recovery key by going to Settings → Privacy & security → Device encryption → Recovery key. On Mac, you can test FileVault recovery by restarting and entering your recovery key at the login screen instead of your password. This confirms the key works before you need it in an emergency.
The One Thing You Must Do
Turn on disk encryption. It takes 15 minutes to configure and a few hours to run in the background. It's invisible during daily use. It's built into your operating system. It's free.
And it's the difference between losing a laptop and losing everything on it.