Should I Back Up Before International Travel? A Traveler's Guide to Data Protection
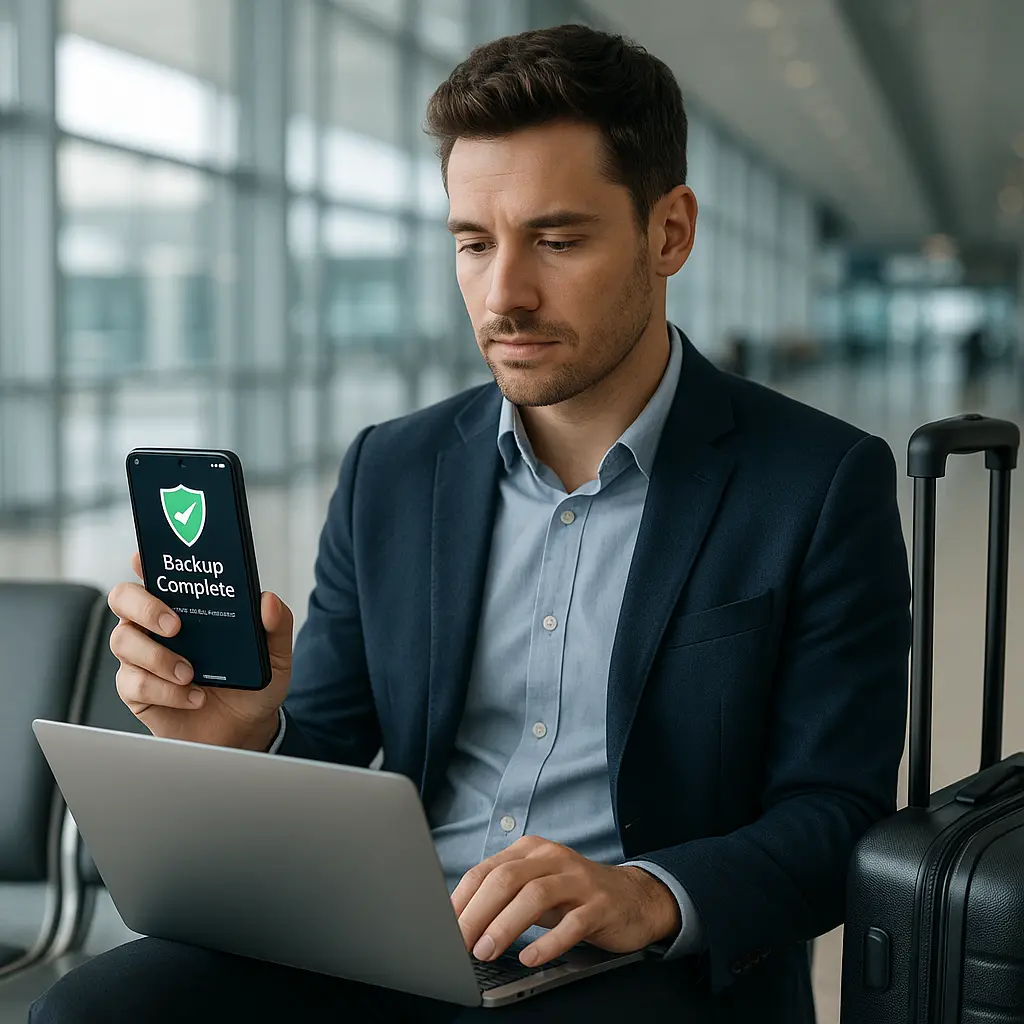
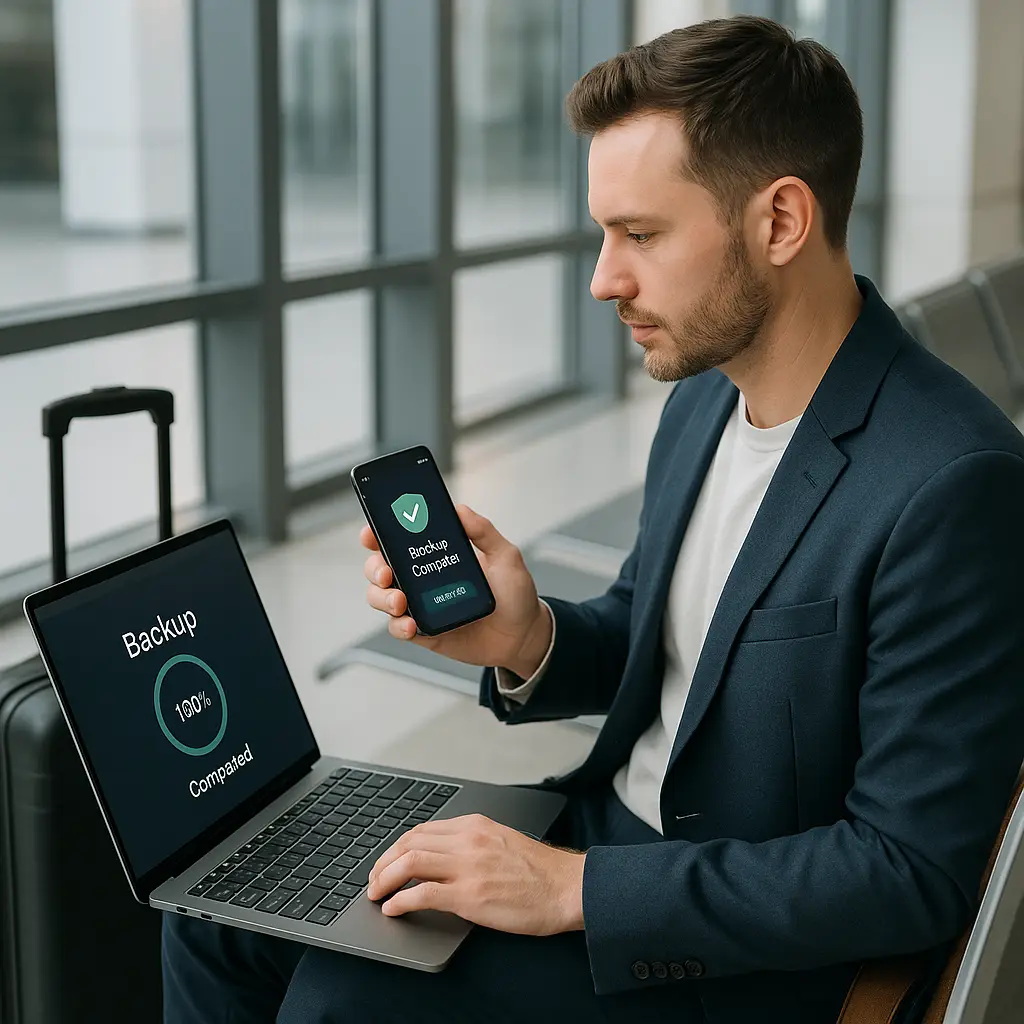
You're packing for a trip abroad. Passport, check. Adapters, check. But what about the 10,000 photos, work documents, and two years of messages sitting on your phone and laptop? Most travelers think about theft insurance and lost luggage. Almost nobody thinks about data backup until it's too late.
International travel creates specific, serious risks for your devices. Theft rates spike in tourist areas. Airport security can damage electronics. Border agents in multiple countries have legal authority to search devices without warrants. And if you lose your phone in Prague or drop your laptop in Singapore, you're not getting that data back without a backup.
Here's what you need to know about protecting your data before you board that flight.
Why International Travel Demands Backup
Your devices face different threats abroad than they do at home. The combination of unfamiliar environments, legal jurisdictions, and physical exposure creates a risk profile that doesn't exist when you're working from your kitchen table.
Theft is the obvious one. Tourism hotspots see higher rates of device theft, and recovery across international borders is nearly impossible. Your phone gets lifted from a café table in Barcelona, and it's gone. No Find My iPhone recovery, no local police follow-up, just permanent loss.
Physical damage happens more often when you're moving through airports, trains, and hotels. Laptops get crushed in overhead bins. Phones fall out of pockets during security checks. Electronics don't survive international travel the way they survive sitting on your desk.
Border searches create a different kind of exposure. U.S. Customs and Border Protection can search devices at entry points without a warrant. Other countries have similar or broader authority. If you're carrying sensitive work files, personal financial records, or private communications, a border search means someone else sees all of it.
And then there's the scenario nobody plans for: you need to factory reset your device mid-trip. Maybe it's acting strange and you suspect malware. Maybe you're selling it to replace a broken screen. Maybe border agents ask you to unlock it and you'd rather wipe it clean. Without a backup, wiping the device means losing everything.
What Actually Needs Backing Up
Not all data matters equally. You don't need to protect everything with the same urgency. Here's what to prioritize.
Photos and videos sit at the top. These are irreplaceable. You can redownload apps, recreate documents, and rebuild contact lists, but you can't recreate the photos from your trip if the device holding them disappears.
Contacts and messages come next. Losing your contact list means losing the ability to reach people when you need help. Messages contain confirmation codes, booking details, and conversations you might need to reference.
Work documents and files matter if you're traveling with a laptop. Presentations, spreadsheets, client data, and project files represent hours of work that vanish if the device fails.
App data and settings take longer to rebuild than you think. Two-factor authentication apps, password managers, banking apps, travel apps with saved itineraries, all of this requires reconfiguration if you're starting from scratch.
Device settings and configurations aren't critical, but restoring them saves hours of setup time. WiFi passwords, notification preferences, accessibility settings, and home screen layouts all disappear with a factory reset.
What doesn't need backing up: cached data, downloaded music or movies you can redownload, browser history, and temporary files. These take up space but hold no long-term value.
Cloud Backup vs Local Backup
You have two backup paths: cloud services and local storage. Each handles different threats.
Cloud backup means your data lives on remote servers managed by Apple, Google, Microsoft, or a third-party service. The advantage is accessibility. Your phone breaks in Tokyo, you buy a new one, sign in, and everything restores. No physical drive required, no cables, no computer.
The tradeoff is control. Cloud providers encrypt your data, but they hold the encryption keys. That means they can access your files if compelled by law enforcement or court order. For most travelers, that's an acceptable risk. For journalists, activists, lawyers, or anyone carrying sensitive material, it's not.
Local backup means copying your data to a physical drive or computer you control. The advantage is full control. You hold the encryption keys, you decide who accesses the backup, and you're not dependent on internet connectivity or a third-party service staying in business.
The tradeoff is portability. If you're traveling with a backup drive, you're carrying another device that can get lost, stolen, or damaged. And if you leave the backup at home, you can't restore from it until you return.
Most travelers should use both. Cloud backup for convenience and remote access. Local backup for complete control and offline restoration.
Setting Up iPhone Backup Before Travel
iPhones back up through iCloud or a Mac/PC. Here's the step-by-step process for each.
iCloud backup happens automatically if you've enabled it, but you should trigger a manual backup before you leave. Open Settings, tap your name at the top, select iCloud, then iCloud Backup. Tap "Back Up Now" and wait for completion. This captures photos, app data, device settings, messages, and Health data.
Check your iCloud storage before you start. Settings > [Your Name] > iCloud shows how much space you're using and how much remains. If you're close to the limit, you'll need to buy more storage or delete old backups to make room. A full backup for a phone with 128GB of data can take 30 minutes to 2 hours depending on your internet connection.
Local backup to a Mac gives you more control and doesn't count against iCloud storage. Connect your iPhone to your Mac with a cable, open Finder, select your iPhone from the sidebar, and click "Back Up Now" under the Backups section. Choose "Encrypt local backup" and set a password you'll remember. This creates a complete snapshot of your device, including passwords and Health data that iCloud backups exclude.
Local backups to a Windows PC work the same way through iTunes or the Apple Devices app, depending on your Windows version. The process takes 20-40 minutes for a full device.
Before you disconnect, verify the backup completed. On Mac, click "Manage Backups" in Finder preferences to see the backup timestamp. On iCloud, Settings > [Your Name] > iCloud > iCloud Backup shows the last successful backup time.
Setting Up Android Backup Before Travel
Android devices back up through Google Drive or a local computer. The process differs slightly by manufacturer, but the core steps are consistent.
Google Drive backup runs automatically for most Android phones, but manual backups ensure everything's current. Open Settings, scroll to "Google," tap "Backup," and select "Back up now." This captures app data, call history, device settings, photos (if you're using Google Photos), and SMS messages.
Google gives you 15GB of free storage shared across Drive, Gmail, and Photos. Check your storage status at Settings > Google > Manage your Google Account > Storage. If you're running low, you can buy more storage or delete old files to make room.
Google Photos handles photo and video backup separately from the main device backup. Open the Photos app, tap your profile icon, select "Photos settings," then "Back up & sync." Turn on backup and choose your upload quality. "Storage saver" compresses photos slightly but saves space. "Original quality" preserves full resolution but counts against your storage quota.
Local backup to a computer requires manufacturer-specific software. Samsung uses Smart Switch, available for Windows and Mac. Connect your phone via USB, launch Smart Switch, and click "Backup." The software copies everything: photos, videos, contacts, messages, apps, and settings.
Other Android manufacturers offer similar tools. LG has LG Bridge, Motorola has Motorola Migrate, and OnePlus has OnePlus Switch. If your manufacturer doesn't provide backup software, you can manually copy files by connecting your phone as a USB storage device and dragging folders to your computer.
Verify the backup by checking the timestamp in Settings > Google > Backup or opening the manufacturer's backup software to confirm the latest backup date.
Setting Up Laptop Backup Before Travel
Laptops hold more data than phones and face higher theft risk when traveling. Full system backups protect everything.
Windows 10 and 11 include built-in backup through File History and System Image. File History backs up documents, photos, and user files continuously to an external drive. System Image creates a complete snapshot of your entire drive, including the operating system and installed programs.
To create a System Image, connect an external drive with enough space to hold your entire laptop's contents. Open Settings > Update & Security > Backup > Go to Backup and Restore (Windows 7). Click "Create a system image," select your external drive, and follow the prompts. This takes 30 minutes to several hours depending on drive size.
macOS uses Time Machine for continuous backup. Connect an external drive, open System Preferences > Time Machine, click "Select Backup Disk," and choose your drive. Time Machine backs up your entire system hourly, keeping snapshots going back as far as disk space allows.
For travel, create a full backup to an external drive before you leave, then store that drive at home. If you're traveling with your laptop and it gets stolen, you can't restore from a backup that's in the same bag. The backup stays home as insurance.
Cloud backup for laptops works through services like Backblaze, Carbonite, or iDrive. These run continuously in the background, uploading changed files to remote servers. The advantage is off-site storage. Your laptop gets stolen, your backup drive gets stolen, but your data still exists in the cloud.
The tradeoff is upload time. A full laptop backup can take days or weeks depending on data volume and internet speed. Start this well before your trip, not the night before departure.
What to Do With Backups While Traveling
Creating the backup is half the process. Protecting it while you travel is the other half.
If you backed up to an external drive, leave it at home. Carrying your backup with your primary device defeats the purpose. Both get stolen together, and you're back to zero.
If you backed up to the cloud, verify you can access it from a different device. Log into iCloud, Google Drive, or your backup service from a web browser to confirm your credentials work and your data appears. You don't want to discover authentication problems when you're trying to restore in a foreign country.
Consider traveling with minimal data on your devices. If you backed up everything before departure, you can delete sensitive files, old photos, and work documents you don't need during the trip. This limits exposure during border searches and reduces loss if the device gets stolen.
Some travelers factory reset their phones before crossing borders, then restore from backup after clearing customs. This works if you're carrying material you'd rather not explain to border agents, but it requires reliable internet access on the other side to pull down your backup.
For work laptops with confidential data, encryption is non-negotiable. Windows BitLocker and macOS FileVault encrypt your entire drive so stolen devices can't be read without your password. Enable this before you travel. The backup process works the same way, but the underlying data stays protected.
Restoring From Backup After Loss or Damage
You're abroad, your phone is gone, and you need to get back online. Here's what restoration looks like.
iPhone restoration from iCloud requires a new or factory-reset iPhone and WiFi. Turn on the new device, follow the setup prompts, and select "Restore from iCloud Backup" when offered. Sign in with your Apple ID, choose the most recent backup, and wait. Restoration takes 30 minutes to several hours depending on backup size and connection speed.
Apps redownload from the App Store automatically. Photos, messages, contacts, and settings restore directly. You'll need to re-enter passwords for email accounts and other services that don't store credentials in iCloud.
Android restoration from Google Drive works similarly. Factory reset or set up a new Android device, sign in with your Google account during setup, and select your backup when prompted. App data, settings, and call history restore automatically. Photos restore if you're using Google Photos.
Laptop restoration from Time Machine requires your backup drive. Boot your Mac into Recovery Mode (Command + R during startup), select "Restore from Time Machine Backup," connect your backup drive, and choose the snapshot you want. This overwrites everything on the laptop with the backup contents, returning it to the exact state it was in when you created the backup.
Windows System Image restoration works through the recovery environment. Boot from a Windows installation USB, select "Repair your computer," choose "System Image Recovery," and point it to your backup drive.
Cloud laptop backup services like Backblaze restore through their web interface. Log in, select the files you need, and download them. Full system restoration requires downloading everything, which can take hours or days depending on data volume and internet speed.
Testing Your Backup Before You Leave
Backups fail. Drives corrupt, cloud uploads stall, settings misconfigure. The only way to know your backup works is to test it.
For phones, the simplest test is restoring a single file or photo. On iPhone, delete a photo from your camera roll, then check if it appears in the "Recently Deleted" album or your iCloud Photo Library on another device. On Android, delete a contact, then verify it reappears when you sync.
For full device backups, the real test is restoration. If you have an old phone or tablet, factory reset it and restore from your backup. This confirms the backup file is intact, your credentials work, and the restoration process completes without errors.
For laptops, test restoration to an external drive or virtual machine rather than overwriting your working system. This verifies the backup image is readable and complete without risking your current setup.
Cloud backups should be tested by accessing files from a different device. Log into iCloud, Google Drive, or your backup service from a web browser and open a few files. This confirms uploads completed and files aren't corrupted.
Testing takes time, but discovering a failed backup while standing in an Apple Store in Berlin costs more.
When Backup Isn't Enough
Backup protects against loss and damage. It doesn't protect against all threats.
If your device gets stolen and you didn't enable remote wipe, the thief has access to everything on it until you can trigger a wipe remotely. Backup won't help with that. You need Find My iPhone or Android's Find My Device configured before departure, with remote wipe enabled.
If you're carrying data you legally can't lose, client files under NDA, medical records, legal documents, backup isn't sufficient. You need encryption, access controls, and potentially leaving that data at home entirely.
If you're traveling to a country with aggressive surveillance or data seizure laws, backup doesn't protect you from having your data copied at the border. In those cases, traveling with a clean device and accessing cloud files only after entry is the safer path.
Backup is insurance against accidental loss. It's not a security control. Treat it as one piece of a broader travel security setup that includes encryption, remote wipe, strong authentication, and thoughtful decisions about what data you carry.
The One Thing You Must Do
If you take one action before international travel, it's this: verify a recent backup exists and you can access it from another device.
Everything else, encryption, remote wipe, cloud vs local, testing restoration, builds on that foundation. But without a current backup that you've confirmed works, you're one theft or one drop away from permanent data loss.
The night before you leave, trigger a manual backup on every device you're traveling with. Check the timestamp. Test access from a web browser. Then put your backup drive somewhere safe at home.
That's the baseline. Everything else is refinement.