Setting Up a Phone for a Kid: Step-by-Step Security and Privacy Configuration
You hand your child a phone, and you're handing them access to the entire internet, a tracking device, a payment system, and a communication channel to billions of people. That's not hyperbole. That's the default configuration.
Most parents focus on the conversation about responsibility. That conversation matters. But the conversation doesn't configure the device. The settings do. If you skip the technical setup, you're relying on your child's judgment and self-control to protect them from design patterns built by engineers whose job is to maximize engagement, data collection, and ad revenue.
This is a practical guide to configuring a phone before your child touches it. The steps are specific. The order matters. Some of these settings can be changed later. Some cannot. You get one chance to set this up right before the phone becomes theirs.
Choose the Account Structure First
The phone needs an Apple ID (iOS) or Google Account (Android). This is not optional. The account controls app downloads, purchases, cloud backups, and recovery access.
You have two options: create a child account under your family plan, or let your child create their own account. The second option is wrong.
A child account under Family Sharing (Apple) or Family Link (Google) gives you control over purchases, downloads, and screen time without requiring access to the child's password. You approve or decline app requests. You see what they're downloading. You can remotely lock the device or wipe it if it's lost.
If your child creates their own account, you lose that oversight unless you know their password. Knowing their password creates a different problem: you're teaching them that privacy doesn't exist, and they'll respond by creating secret accounts you don't know about.
Set up the child account yourself. Use an email address you control as the recovery contact. On iOS, this happens during Family Sharing setup in Settings > [Your Name] > Family Sharing > Add Member. On Android, download the Family Link app and follow the setup flow.
The account you create now will follow your child into adulthood. Choose a professional-sounding email address, not something they'll be embarrassed by at 22.
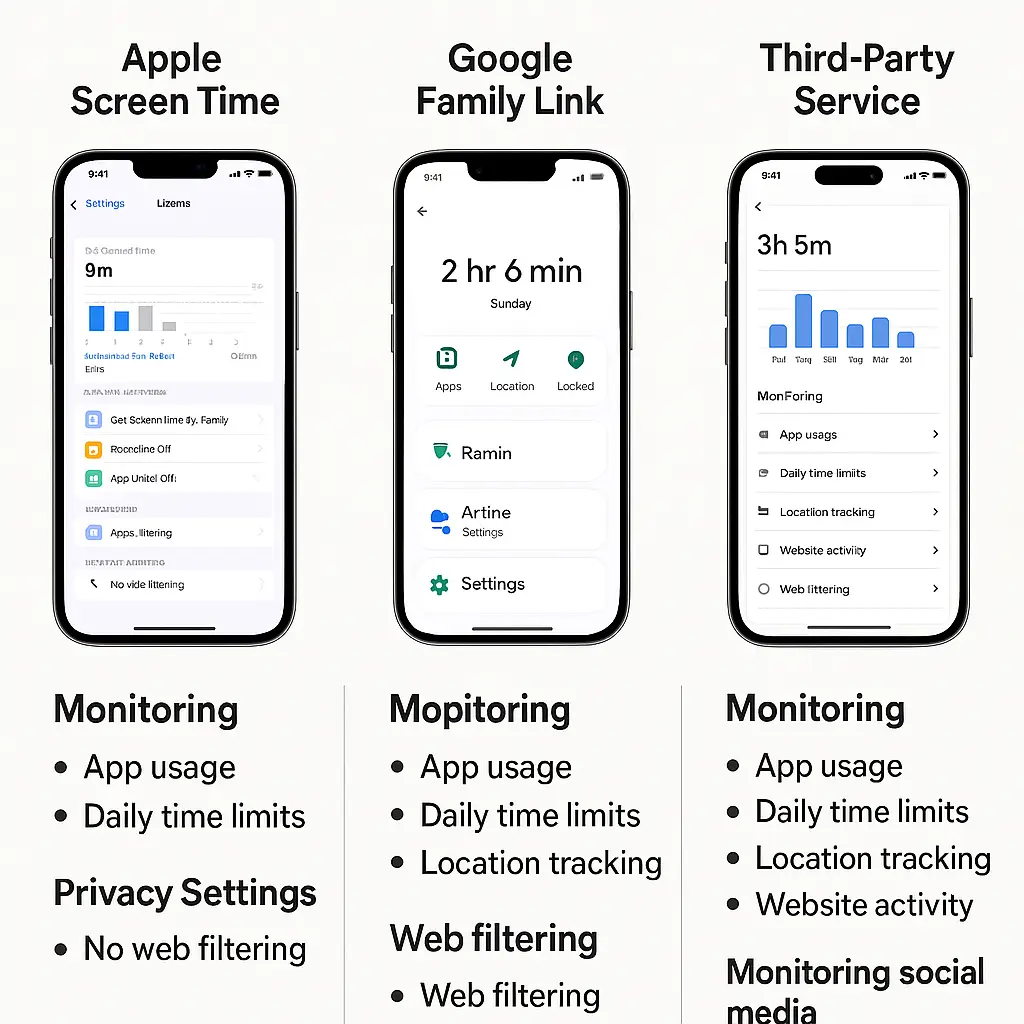
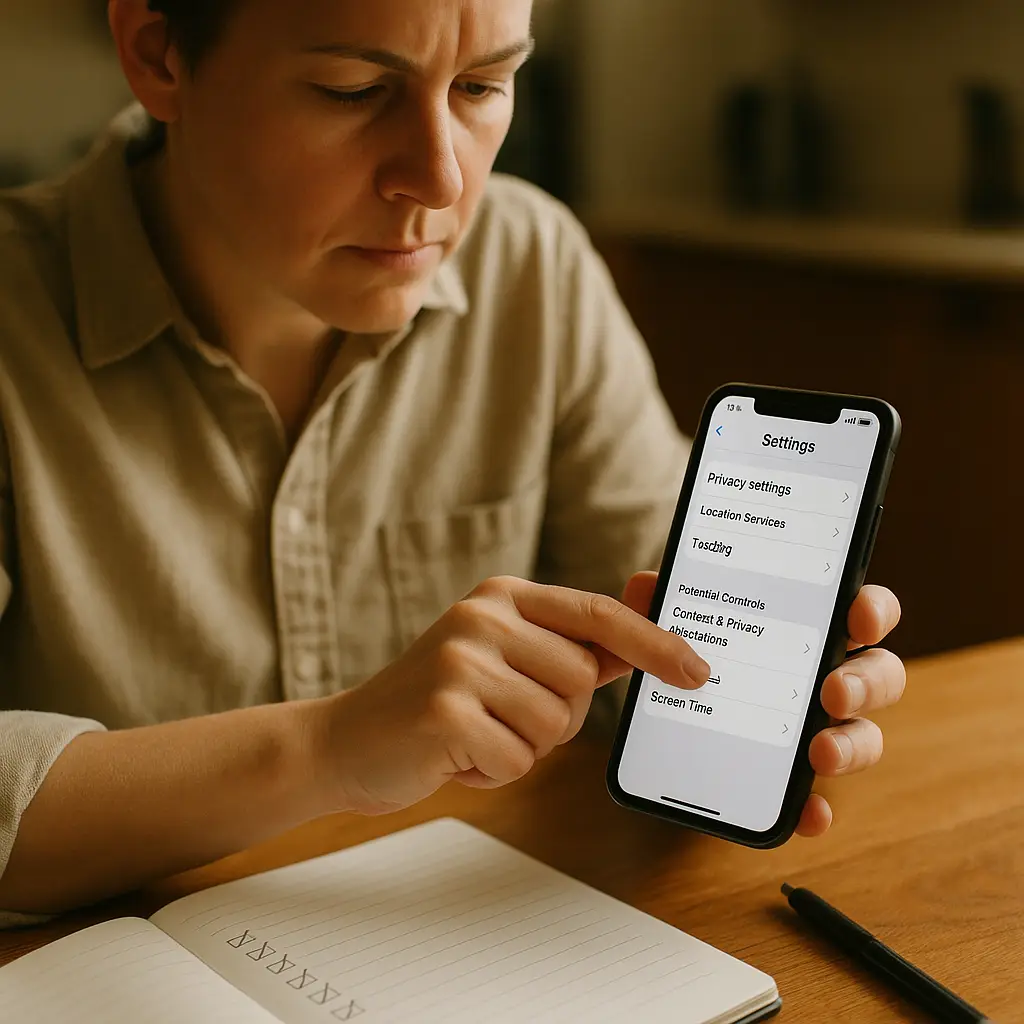
Configure Screen Time or Family Link Before Anything Else
Parental controls are easier to enable before the phone is in use than after. Once your child has installed apps, set up accounts, and started using the device, rolling back permissions feels like punishment.
On iOS, go to Settings > Screen Time > Turn On Screen Time. Select "This is My Child's iPhone." Set a Screen Time passcode that your child does not know. This passcode is separate from the device unlock code. Without it, your child can disable Screen Time.
On Android, open the Family Link app on your phone (not theirs). Follow the setup to link their account. Family Link runs on your device and manages theirs remotely.
Configure these settings immediately:
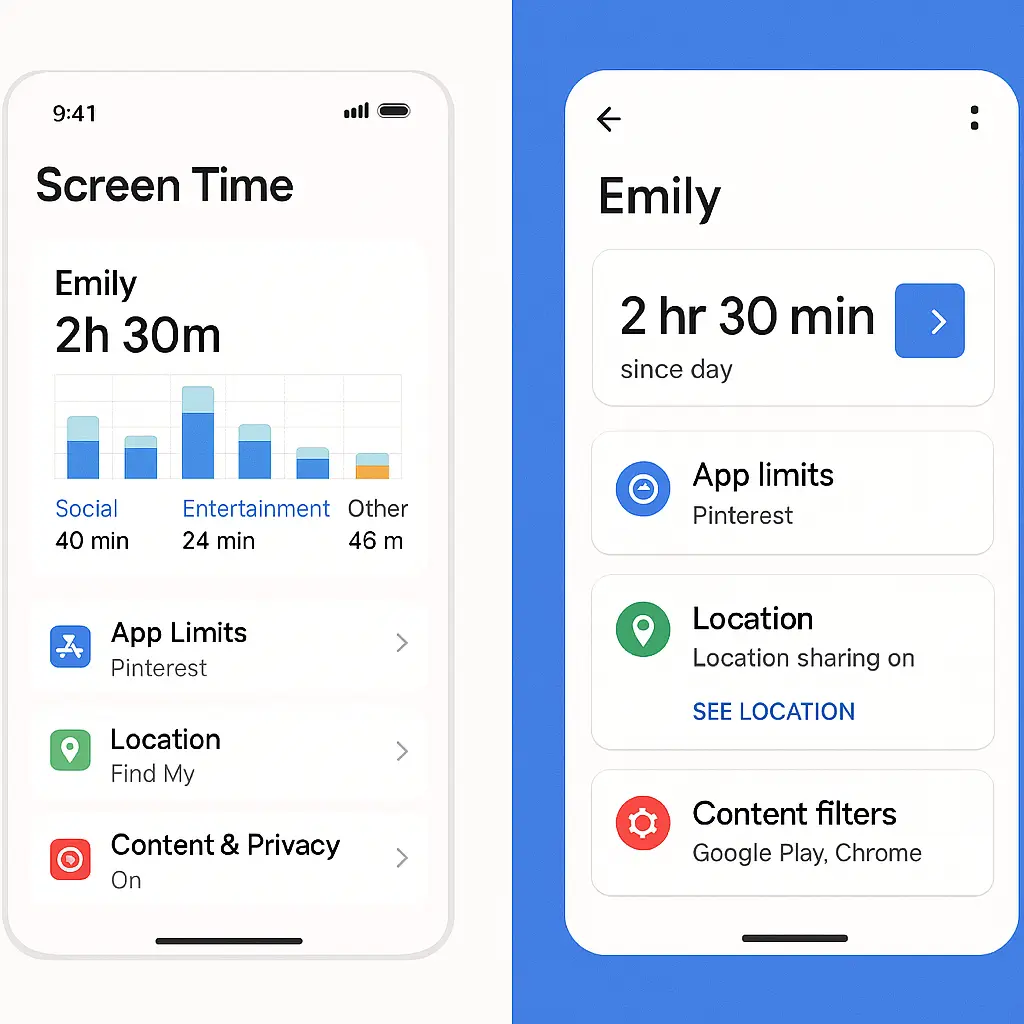
Downtime: Set hours when only approved apps work (calls, messages, and whatever else you allow). This blocks everything else without negotiation. On iOS, this is in Screen Time > Downtime. On Android, it's in Family Link > Bedtime and Downtime.
App Limits: Decide daily limits for categories (social media, games, entertainment). These are soft limits. Your child will see a notification and can request more time. You approve or decline from your phone. On iOS: Screen Time > App Limits. On Android: Family Link > App Limits.
Communication Limits: Control who your child can contact and when. On iOS, Screen Time > Communication Limits lets you restrict calls and messages to approved contacts during downtime. Android doesn't have an equivalent built-in feature, but you can manage contacts through Google Contacts and restrict messaging apps through app permissions.
Content Restrictions: Set age ratings for apps, movies, music, and websites. On iOS: Screen Time > Content & Privacy Restrictions > Content Restrictions. On Android: Family Link > Controls > Content Restrictions. Choose the rating that matches your judgment, not the default.
Purchase Approval: Require your approval for every app download, even free ones. On iOS: Screen Time > Content & Privacy Restrictions > iTunes & App Store Purchases > Installing Apps > Don't Allow (or Ask to Buy if you want case-by-case decisions). On Android: Family Link > Controls > Approval for Purchases > All Content.
Write down the Screen Time passcode somewhere secure. If you forget it, the only recovery path is erasing the device.
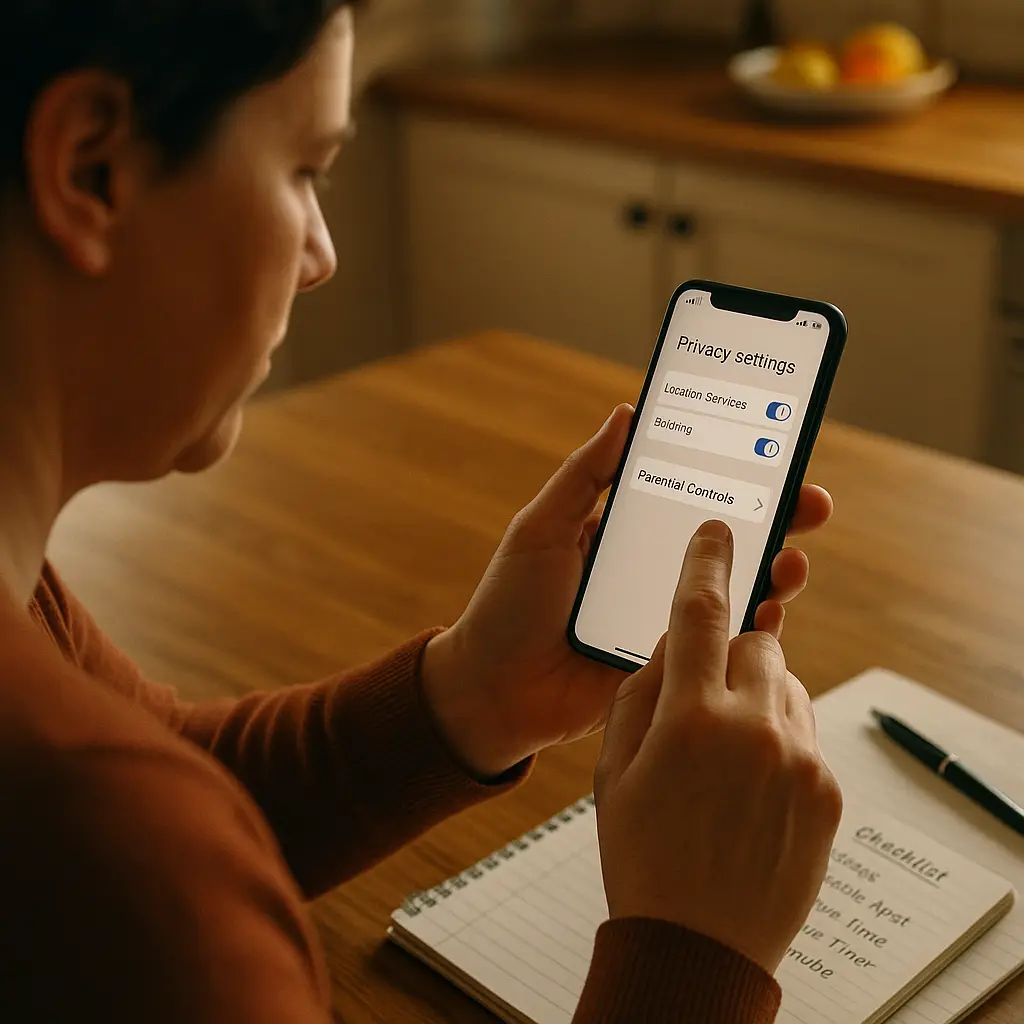
Lock Down Location Services
Location tracking is the most contentious privacy setting on a child's phone. It serves two legitimate purposes: finding a lost device and knowing where your child is. It also enables persistent tracking by apps, advertisers, and platforms.
In You've Got Mail, Kathleen Kelly and Joe Fox meet in a bookstore because they choose to. They don't broadcast their location to everyone they've ever emailed. That's the old model: privacy by default, disclosure by choice. Smartphones invert that. The default is disclosure. Privacy requires active configuration.
Here's the setup:
Enable Find My (iOS) or Find My Device (Android): This is non-negotiable. If the phone is lost or stolen, this is how you locate and remotely wipe it. On iOS: Settings > [Child's Name] > Find My > Find My iPhone > On. On Android: Settings > Security > Find My Device > On.
Enable Family Sharing Location (iOS) or Family Link Location (Android): This lets you see your child's location without installing a third-party tracking app. On iOS: Settings > [Child's Name] > Family Sharing > Location Sharing > Share My Location > On. On Android: Family Link shows location by default when the child's device is linked.
Disable Location Access for Most Apps: Go through Settings > Privacy > Location Services (iOS) or Settings > Location > App Permissions (Android). Set most apps to "Never." Apps that need location to function (maps, ride-sharing if you allow it) can be set to "While Using the App." Almost no app needs "Always."
Disable Significant Locations: This feature logs everywhere your child goes and uses the data to predict behavior. It's creepy when consumer-protection literature commonly advises against it. On iOS: Settings > Privacy > Location Services > System Services > Significant Locations > Off. Android doesn't have an exact equivalent, but Location History in Google Account settings should be paused.
Discuss location sharing with your child before you enable it. Explain why you're tracking their location (safety, not surveillance), under what circumstances you'll check it (if they're late, if they don't respond to messages), and when you'll stop (age 16, 18, when they move out, or whatever boundary you set). If you don't set expectations, they'll assume the worst and find ways around it.
Disable Personalized Ads and Tracking
Advertisers track children the same way they track adults: through persistent identifiers, browsing history, app usage, and location. The difference is that children don't understand the transaction. They see free apps. They don't see the data extraction.
Reduce tracking with these settings:
Limit Ad Tracking (iOS) or Opt Out of Ads Personalization (Android): On iOS: Settings > Privacy > Tracking > Allow Apps to Request to Track > Off. On Android: Settings > Privacy > Ads > Delete Advertising ID.
Disable Personalized Ads in Google Account: If your child has a Google Account (they will if they're using Android), go to myaccount.google.com/data-and-privacy > Ad Settings > Ad Personalization > Off.
Disable Siri / Google Assistant Data Collection: Voice assistants log everything your child says. On iOS: Settings > Siri & Search > Siri History > Delete Siri & Dictation History, then disable "Listen for 'Hey Siri'" if you don't want passive listening. On Android: Google Account > Data & Privacy > Web & App Activity > Turn Off (or delete existing history).
Turn Off Analytics Sharing: Both Apple and Google collect device usage data. You can disable it. On iOS: Settings > Privacy > Analytics & Improvements > Share iPhone Analytics > Off. On Android: Settings > Privacy > Usage & Diagnostics > Off.
These settings don't eliminate tracking. They reduce it. Apps can still collect data you explicitly give them (contacts, photos, microphone access). The goal is to minimize passive data collection that happens in the background without your child's awareness.
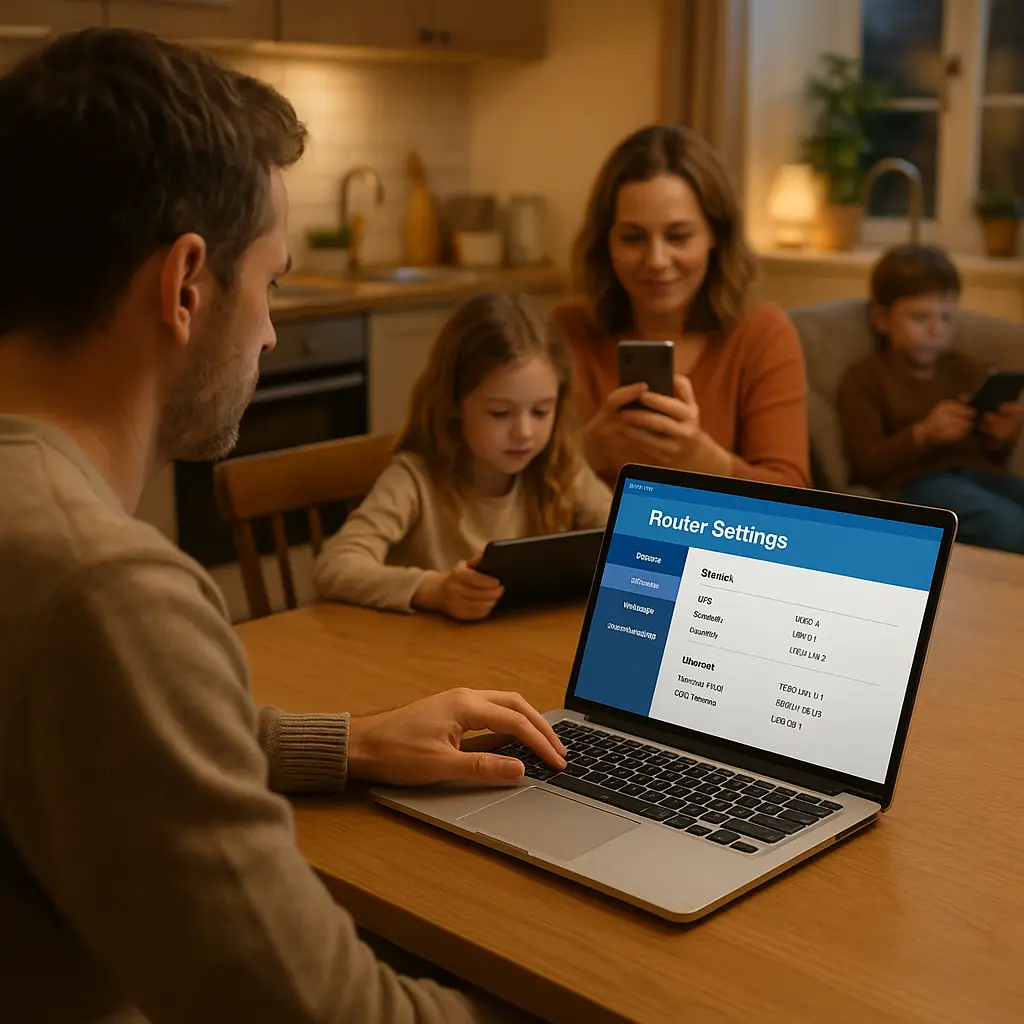
Configure Messaging and Communication
Messaging apps are where most online risk concentrates for children: contact from strangers, sharing inappropriate content, cyberbullying, and phishing links sent by people pretending to be friends.
Start restrictive. You can loosen restrictions as your child demonstrates judgment.
Messages (iOS) or Google Messages (Android): These are the default SMS/MMS apps. On iOS, you can use Screen Time > Communication Limits to restrict who your child can message. On Android, there's no built-in equivalent, but you can manage this by controlling which contacts exist in their Google Contacts.
Disable iMessage Contact Sharing: iMessage allows strangers to send messages if they have your child's phone number or email address. You can't fully disable this without disabling iMessage entirely. The compromise: Settings > Messages > Send & Receive, and remove any email addresses, leaving only the phone number. Then discuss with your child: don't share your number publicly, don't respond to messages from unknown numbers.
Social Media and Messaging Apps: If your child is under 13, most platforms (Instagram, Snapchat, TikTok, Discord) prohibit accounts under their terms of service. Enforcement is weak, but you can enforce it. Don't install these apps initially. Require approval for every app download (configured in Screen Time or Family Link). When your child asks for a social app, review it together, read the privacy policy (yes, actually read it), and decide whether the risk is acceptable.
Disable App Installation Without Approval: Covered earlier in Screen Time / Family Link setup, but worth repeating. If your child can install apps without your knowledge, every other restriction becomes optional.
Set Up Emergency Contacts and Medical ID
If your child is in an accident, first responders need to contact you. The phone can provide that information even when locked.
On iOS: Settings > Health > Medical ID > Edit. Enter your contact information as an emergency contact, add any relevant medical information (allergies, medications, conditions), and enable "Show When Locked." This makes Medical ID accessible from the lock screen without unlocking the phone.
On Android: Settings > About Phone > Emergency Information. Enter emergency contacts and medical details. This information is accessible by tapping "Emergency" on the lock screen.
Program your own number into the phone as "Mom" or "Dad" or whatever your child calls you. Program a second trusted adult (other parent, grandparent, family friend) as a backup.
Review and Restrict App Permissions
Apps request access to contacts, photos, camera, microphone, and location. Some requests are legitimate. Most are not.
Go through Settings > Privacy (iOS) or Settings > Privacy (Android) and review every category:
Contacts: Most apps don't need access to your child's contacts. Social apps will request this to "find friends." Deny it unless there's a specific reason.
Photos: Apps request photo access to let your child upload images. On iOS, you can grant limited access (select specific photos) instead of full library access. Use this option.
Camera and Microphone: Games and social apps will request these. Deny by default. Grant only when your child is actively using a feature that requires it (video calls, recording a video).
Location: Covered earlier. Almost everything should be set to "Never" or "While Using the App."
Notifications: Apps use notifications to pull your child back into the app. Disable notifications for games and social media. Enable for messages, calls, and calendar. On iOS: Settings > Notifications. On Android: Settings > Notifications > App Settings.
Explain to your child why you're restricting permissions. The conversation is part of the setup. "This app wants access to your contacts so it can upload them to its servers. We're saying no because your friends didn't agree to that."
Enable Automatic Updates and Backups
Security updates patch vulnerabilities. Backups prevent data loss. Both should happen automatically.
Automatic Updates: On iOS: Settings > General > Software Update > Automatic Updates > On. On Android: Settings > System > System Update > Auto-Download Over Wi-Fi > On.
Automatic Backups: On iOS: Settings > [Child's Name] > iCloud > iCloud Backup > On. On Android: Settings > System > Backup > Back Up to Google Drive > On.
Backups include photos, messages, app data, and settings. They do not include apps themselves (those re-download from the App Store or Play Store). If your child loses the phone or it breaks, you can restore to a new device.
Check that backups are actually happening. On iOS: Settings > [Child's Name] > iCloud > iCloud Backup shows the date of the last backup. On Android: Settings > System > Backup shows backup status.
Set a Strong Device Passcode (Not a Fingerprint Alone)
Biometric unlock (fingerprint, Face ID) is convenient. It's also bypassable. A passcode is not.
Set a six-digit passcode (or longer). Do not use 123456, 000000, or your child's birthdate. Do not use a four-digit code. On iOS: Settings > Face ID & Passcode (or Touch ID & Passcode) > Change Passcode > Passcode Options > Custom Numeric Code. On Android: Settings > Security > Screen Lock > PIN (and choose a six-digit or longer PIN).
Enable biometric unlock for convenience, but the passcode is the fallback. Your child will use the passcode when the phone restarts, when biometric unlock fails, and when they're in a situation where they can't use their face or finger (gloves, mask, etc.).
Do not share the passcode with friends. Do not write it on a sticky note. Do not save it in a note-taking app on the same phone. Memorize it.
Configure Browser Settings and Search Restrictions
If your child has access to a web browser, they have access to the internet. You can't filter the entire internet, but you can reduce exposure.
On iOS: Settings > Screen Time > Content & Privacy Restrictions > Content Restrictions > Web Content. Choose "Limit Adult Websites" (this enables Apple's built-in filter) or "Allowed Websites Only" (this restricts browsing to a whitelist you create). The second option is more restrictive and appropriate for younger children.
On Android: Family Link > Controls > Filters on Google Chrome. Enable SafeSearch (filters explicit results in Google Search) and configure site blocking.
Install a Privacy-Focused Browser (Optional): If you want more control, replace Safari or Chrome with Firefox Focus (iOS/Android) or Brave (iOS/Android). These browsers block trackers by default and don't save browsing history. Install them yourself and set them as the default browser. On iOS, this requires iOS 14 or later: Settings > [Browser App] > Default Browser App. On Android: Settings > Apps > Default Apps > Browser App.
Explain to your child that filters are not perfect. They will encounter things you didn't intend. When that happens, the expectation is that they tell you, not hide it.
Have the Conversation About What Happens Next
The phone is configured. The controls are in place. Now you talk.
Sit down with your child and walk through what you've set up. Show them Screen Time or Family Link. Explain what each setting does and why it's there. Answer their questions. Listen to their objections.
Set expectations:
- You will see what apps they download.
- You will approve purchases.
- You can see their location.
- Downtime and app limits are not negotiable, but you'll revisit them in six months.
- If they try to bypass restrictions, they lose the phone.
Set boundaries for yourself:
- You will not read their messages without cause (define "cause": credible concern about safety, not curiosity).
- You will not track their location obsessively (define "obsessively": checking because you're bored, not because they're late).
- You will revisit restrictions as they get older.
This conversation is not one-time. You're starting a pattern of ongoing negotiation about privacy, autonomy, and safety that will continue until they're adults. The phone setup is the technical foundation. The conversation is the relationship foundation.
What You've Built
You've configured a device that gives your child access to communication, information, and entertainment while limiting exposure to tracking, strangers, and content they're not ready for. The controls you've set are not permanent. They're training wheels.
As your child demonstrates judgment, you loosen restrictions. As they violate trust, you tighten them. The goal is not control. The goal is teaching them to make decisions about privacy, security, and online behavior while the stakes are still low.
The phone is ready. The conversation continues.
Related reading: